Reaction videos thrive because they let viewers share in raw, relatable moments. That emotional connection makes them one of the fastest-growing formats on YouTube.
But viewers don’t know what’s inside your video before they click. Their decision to watch — or keep scrolling — comes down to two things: the title and the thumbnail.
That single image carries a lot of weight. For reaction videos, where emotion is the content, the thumbnail becomes your most powerful growth tool. Nail it, and you’ll hook viewers before the video even starts.
Why a High-Quality Reaction Thumbnail Can Boost CTR
Your viewers are like shoppers on a busy road: they have currency (attention), but aren’t sure where to spend it. Your thumbnail acts as their first invitation to stop and take a closer look.
That single image acts as your video’s billboard — a split-second ad for your content. And the difference it makes is measurable.
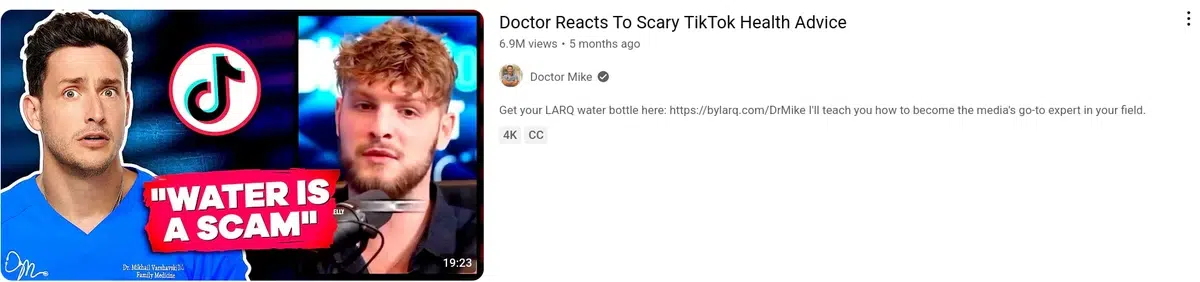
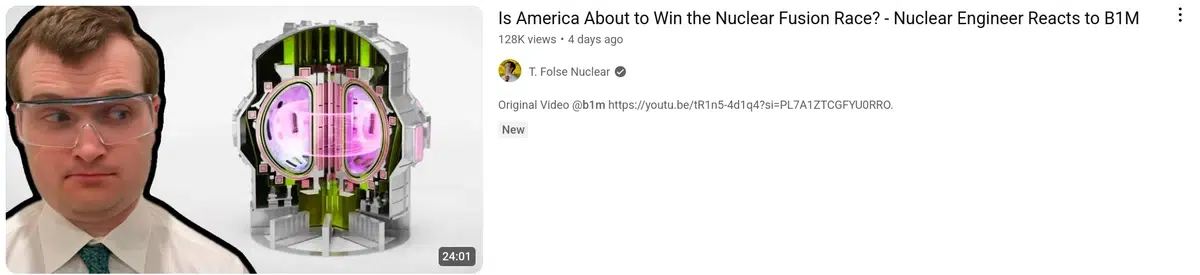
Research shows that expressive faces in thumbnails can add tens of thousands of views, while emotions like shock or surprise push engagement even higher.
This effect is even more pronounced in reaction videos, where emotion is the content.
Capture that emotion in the image and you give viewers a reason to click. Miss it, and they’ll scroll past.
5 Essential Elements of a Viral Reaction Thumbnail
Designing a thumbnail that gets clicks is easier than it looks. You don’t need fancy software or complex tricks, just a handful of smart design choices.
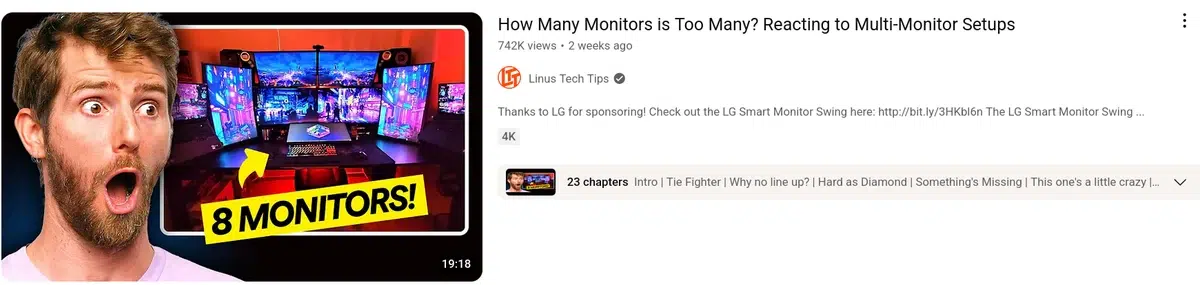
Expressive, high contrast reaction face
Nothing shows a reaction better than, well, your face.
A jaw drop, a burst of laughter, or an exaggerated cringe tells viewers instantly what kind of moment they’re in for.
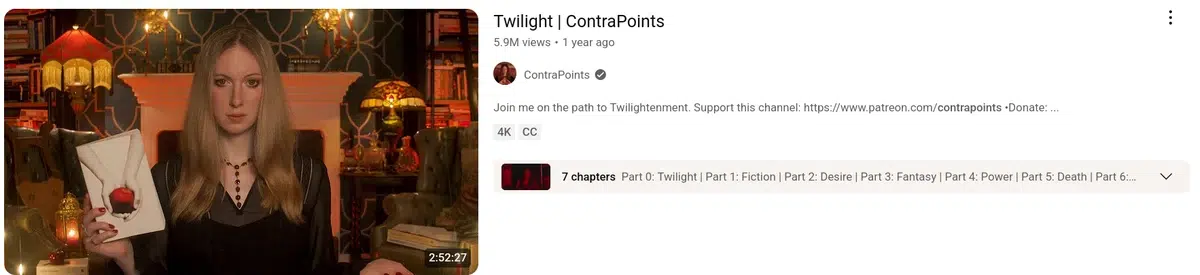
But expressiveness doesn’t always mean going over the top. For example, a steady, intense stare can be just as powerful when it sets the mood
Big reactions set expectations. When viewers see a shocked face, they anticipate surprise inside the video. When they see laughter, they expect humor.

If viewers can read your expression in a split second and glimpse the story you’re about to tell, you’ve nailed it.
Intriguing context from source material
A strong reaction face is great, but without context, it’s only half the story. Viewers also need to spot what you’re reacting to at a glance.
Think of a gamer wanting to see others struggle with the same boss. Context makes that connection instant.
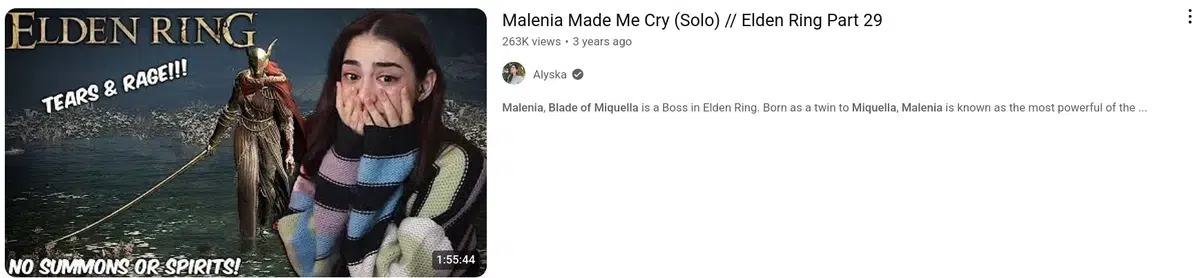
Without context, it’s just a face; with it, viewers know why it matters.
That clarity builds curiosity. If people can recognize the setup at a glance, they’re far more likely to click to see your take.
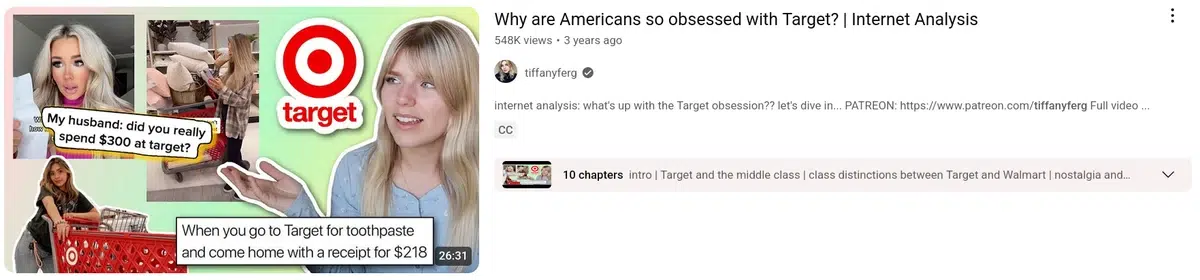
Bold, easy-to-read text
Text in a thumbnail grabs attention fast, especially on small screens where detail gets lost.

Bold text works because it gives the eye an anchor. A short word or phrase, set in a strong font, makes the thumbnail scannable even at tiny sizes.
Think of it as a headline that backs up your expression. Keep it minimal, keep it legible, and it’ll win the click.
Contrasting color palette
Color helps your thumbnails pop. When you use strong contrast between the background and what you want viewers to focus on, nothing gets lost in the scroll.
But do not try to flashbang your viewers. If that worked, the entire search page would be filled with bright neon violet colors and everyone would get a headache.
Instead, use contrast to guide the eye, making sure the focus of your thumbnail is instantly clear.
Clean, uncluttered branding
Branding makes your video instantly recognizable in a busy feed.
Take Guess That Song for example. Every thumbnail uses the same formula: bold yellow text, big reaction face, and a clear backdrop.

Kurzgesagt takes the opposite route but with the same consistency. Their minimal illustrations and crisp typography are unmistakable.

Create a cohesive style that viewers learn to spot and trust. This does two things: it gives you a repeatable framework and saves you the hassle of starting from scratch every time.
How to Make a Reaction Thumbnail in 5 Minutes with Piktochart
Your thumbnail is the first thing viewers notice, and it’s often the deciding factor for whether they click or keep scrolling. A strong reaction thumbnail helps your content stand out in YouTube search results and instantly communicates the tone of your video.
While advanced design skills and professional software can give you more options, they’re not required.
With Piktochart’s AI-powered tools, you can create an eye-catching, click-worthy reaction thumbnail in just a few minutes. This guide walks you step by step through the process, from picking a layout to polishing the final details.
Step 1: Generate and pick a layout
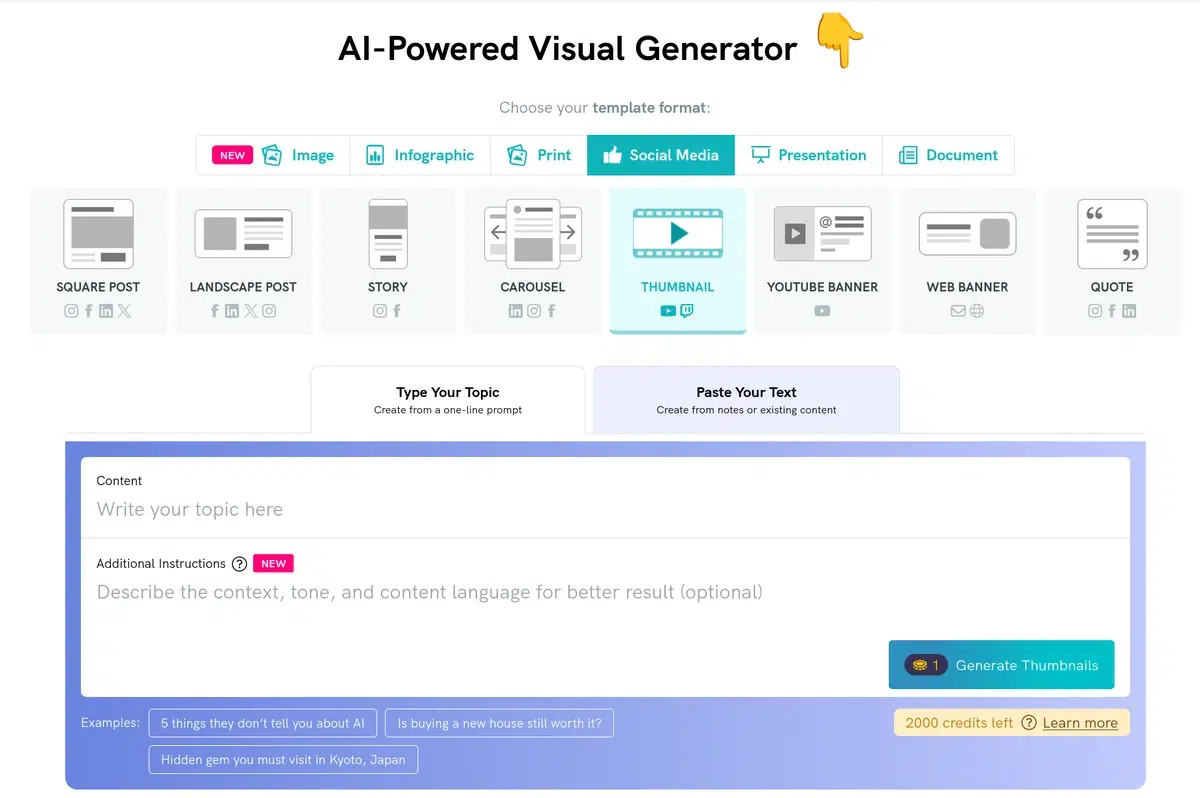
Use Piktochart’s AI-powered thumbnail generator to quickly create design starting points.
The tool will pick the right size (1280 x 720 pixels) and place the various elements accordingly.
When filling in the Additional Instructions box, try prompts like:
- Make it look dramatic and emotional, like a reaction video
- Use bold colors and big fonts so it’s clear on mobile
- Add playful elements, but keep the text readable
- Emphasize surprise or strong emotion
You’ll get several different layouts to choose from. Here are a few examples I got straight out of the tool:
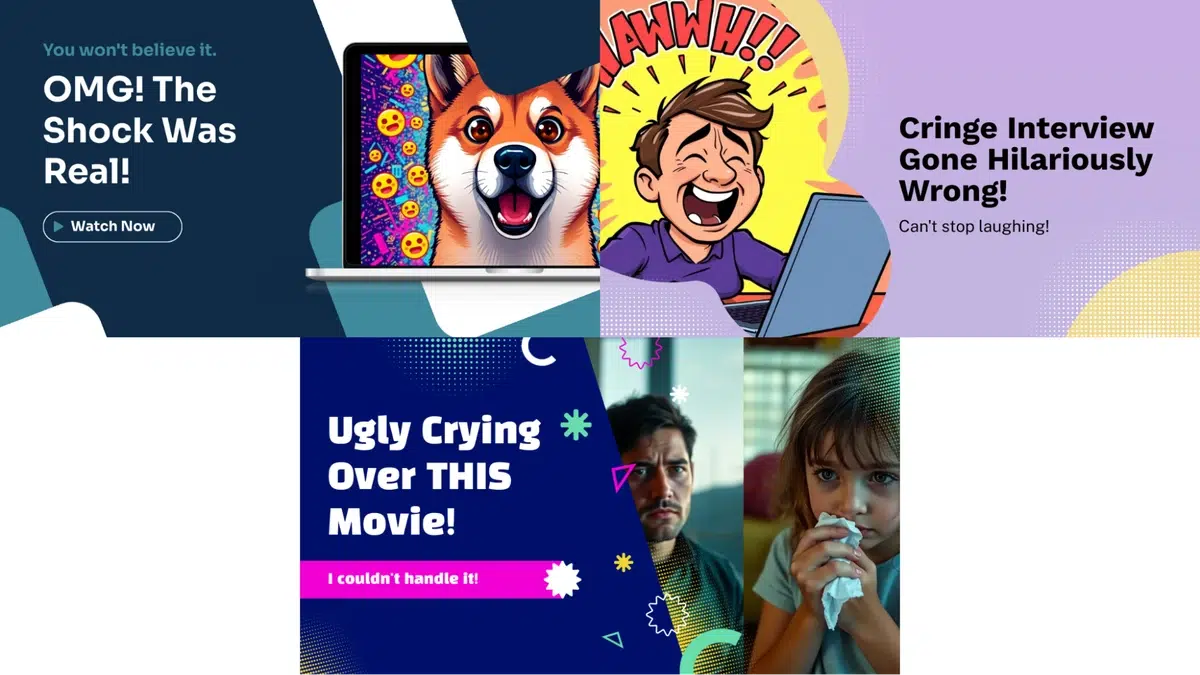
Once you’ve picked a layout that feels right for your video, it’s time to customize it starting with the most important element: your reaction face.
Step 2: Prepare the reaction face
This is the core of your thumbnail. Your own reaction should take up at least one-third of the space. Use a clear, expressive shot of yourself (or whoever the channel features).
In most cases, you’ll swap in your own reaction photo here. Whatever the case, Piktochart lets you clean them up all the same. For example, I used the AI Image Modifier right inside the editor to quickly remove a background character.
Make sure to also clean any element that covers the face. AI likes adding a little too many decorations to its images.
Tips to get the most out of your reaction face:
- Make sure your expression is recognizable
- Position your face toward one side, leaving room for text or background
- Scale the face so it takes up at least one-third of the thumbnail — reaction should always dominate
With your face in place, you’re ready to add the reaction’s context.
Step 3: Add background context
Your background tells viewers what the reaction is about.
Since we’re avoiding copyright-heavy screenshots, you can:
- Use official artwork, promotional images, or concept art (blurred or stylized).
- Generate or find thematic stock images (e.g., moody scenery, pixel art, fantasy landscapes).
- Apply a blur or color overlay so your text and reaction face stay the focus.
For example, in this GIF I added a blurred and lightly edited official art of the game to suggest the video’s vibe without pulling focus away from the reaction.
Step 4: Polish your text & styling
Your title text works as the hook. Thus, it needs to be bold, clear, and readable even at tiny sizes.
- Main headline: Keep it big and high-contrast. Use words like THIS in a different color to create emphasis.
- Subtext: Shrink or tone down secondary lines (e.g., “I couldn’t handle it!”) so they support the main headline instead of competing.
- Colors & contrast: Pick a color palette that pops. Bright text on darker backgrounds (or vice versa) keeps your thumbnail readable on mobile.
- Framing elements: Simple shapes or blocks can separate text from the background without being distracting.

These adjustments ensure the text stays readable at all sizes and doesn’t overpower the reaction image.
Step 5: Final checks & exporting
Before you hit download, do one last test:
- Zoom out to 10–15% in your editor. This simulates how tiny it will look in YouTube search or on a phone screen.
- Make sure the reaction face + main text are still instantly clear. If not, tweak font size, contrast, or positioning.
Once it passes the small screen test, you’re ready to download your final thumbnail.
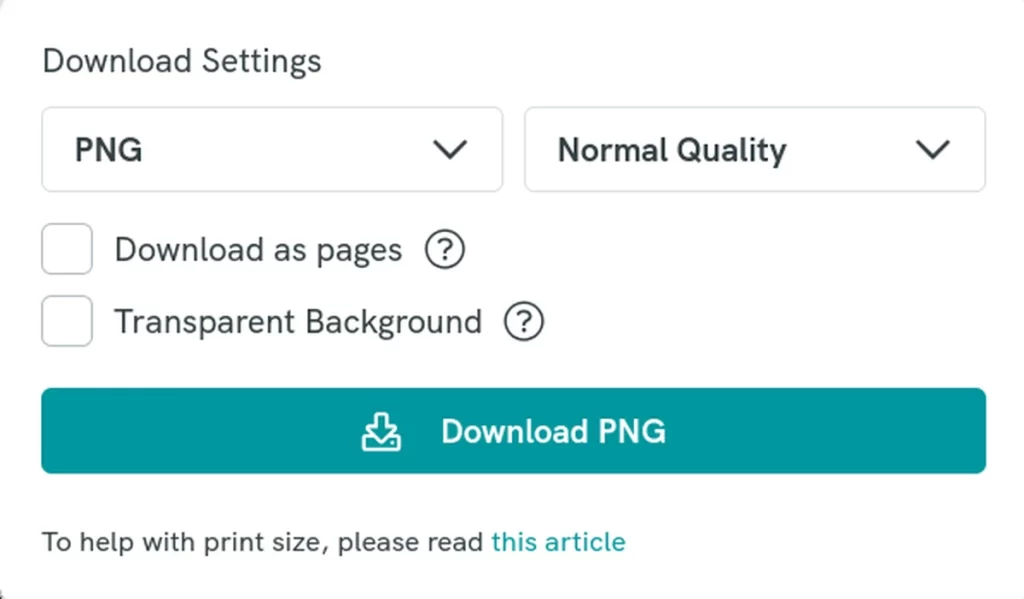
The default options Piktochart gives you when you hit the download button are more than fine:
- Format → PNG (best balance of sharpness + compatibility).
- Quality → Normal Quality is enough for YouTube.
Download your thumbnail, upload it with your video in YouTube Studio, and you’re all set. You now have a professional-looking thumbnail made in just a few steps.
4 Pro Tips to Make Your Thumbnails Stand Out
Making a solid YouTube reaction thumbnail is one thing.
Making one that stands out in a sea of YouTube videos is another.
Once you’ve nailed the basics, small refinements can give your thumbnails the extra edge they need to pull in more clicks.
And you can apply these refinements without overhauling your whole process. Small adjustments — like making sure your design works at a glance — add up quickly.
The squint test: ensure your thumbnail works at a glance
On YouTube, your thumbnail is competing at the size of a postage stamp. If viewers can’t recognize the emotion or read the text instantly, they’ll scroll past.
That’s where the Squint Test comes in. Squint at your thumbnail, or zoom way out, until the details blur.
If the reaction face and main text still stand out, you’ve nailed it. If they vanish, your design needs simplifying.
Guide viewers’ eyes with arrows, circles, and other cues
Even a strong thumbnail can get confusing if there’s too much going on.
Simple visual cues — like an arrow pointing to a key detail — make sure viewers know exactly where to look first.
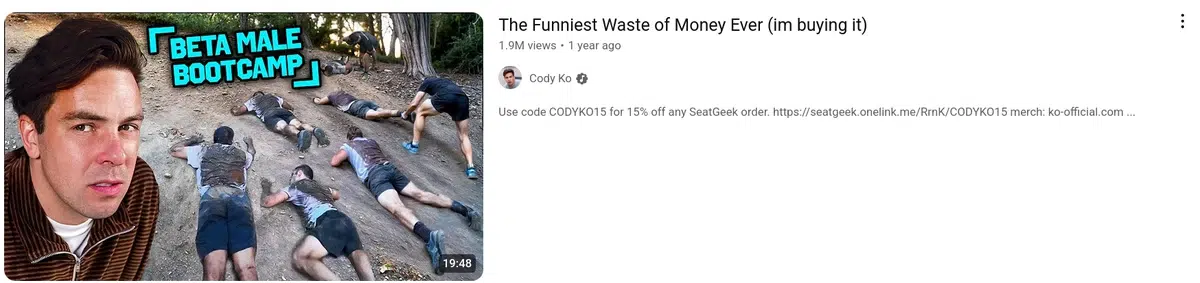
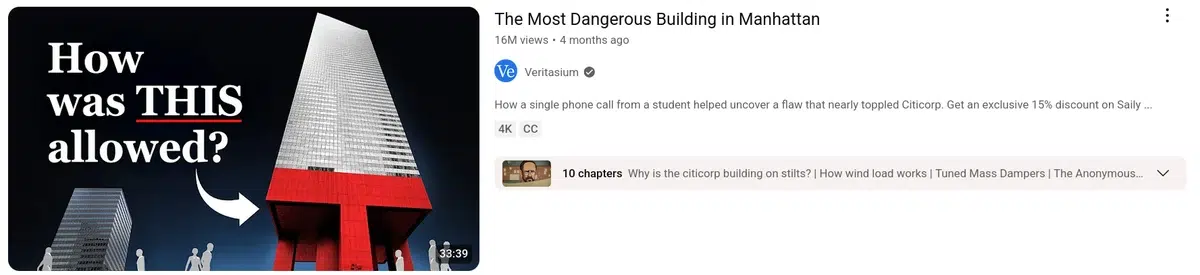
For instance, in this MrBeast thumbnail, the arrow makes the transformation story crystal clear at a glance.

Used sparingly, these cues act like a spotlight. They guide attention without cluttering the design, and make your thumbnail’s story clear in an instant.
Build a simple template to save time and stay consistent
One of the easiest ways to keep your thumbnails looking professional is to create a reusable template.
Instead of starting from scratch every time, lock in the basics:
- Text placement
- Font choices
- Brand colors
This not only speeds up your workflow but also builds visual consistency across your channel. Viewers should be able to recognize your videos at a glance, even before reading the title.
Think of your template as a flexible framework: structured enough to keep things recognizable, but open enough to adjust for unique videos when needed.
Use analytics to improve click-through rates over time
Even the best-designed thumbnail is still a hypothesis until viewers interact with it.
Start by tracking your thumbnail’s CTR (Click-Through Rate) in YouTube Analytics. If your video is getting impressions but not clicks, it’s often a sign that the thumbnail isn’t grabbing attention strongly enough.
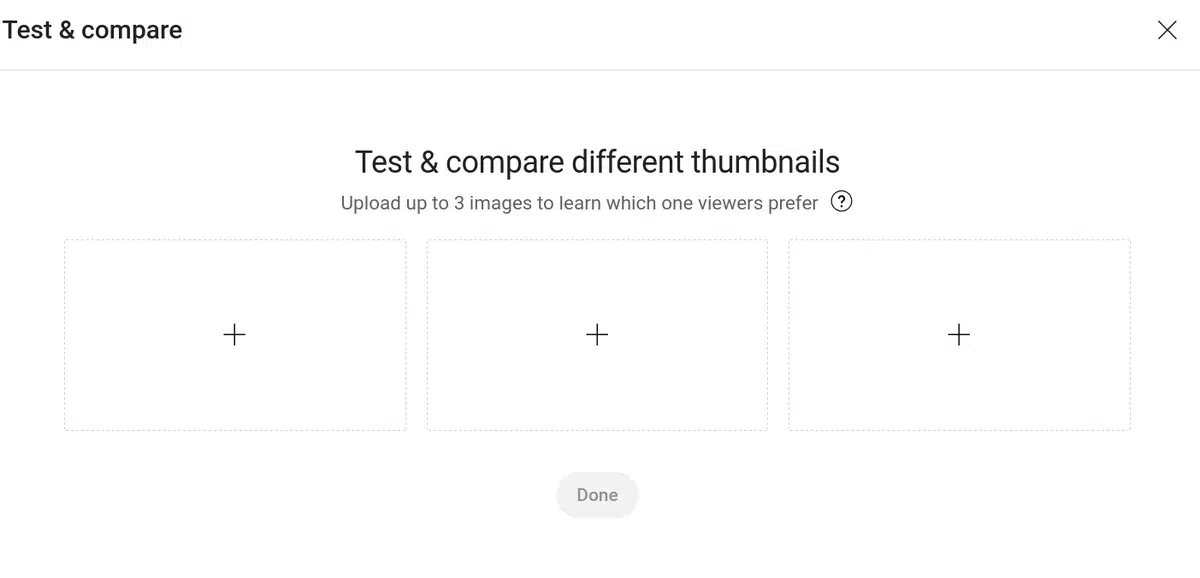
You can also run A/B tests directly in YouTube Studio using the Test & Compare feature.
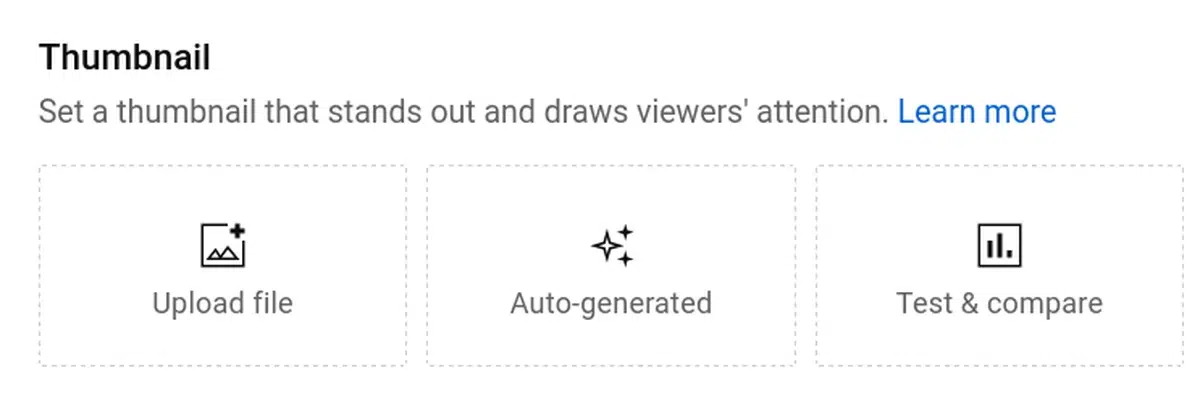
Upload two or three different thumbnail variations for the same video and let YouTube automatically rotate them. Over time, you’ll see which version viewers prefer, backed by real data.
This process takes the guesswork out of design. It lets you rely on audience behavior to guide your choices and steadily refine your thumbnails to maximize clicks.
FAQ
What is the best size for a YouTube reaction thumbnail?
The ideal size for any YouTube thumbnail is 1280 x 720 pixels with a 16:9 aspect ratio.
This ensures your image looks sharp across devices, from large TVs to tiny phone screens. Keep the file under 2 MB and save it as a PNG or JPG for best results.
While YouTube displays thumbnails at much smaller sizes (like 120 x 90 pixels in search results), starting at 1280 x 720 ensures your design stays crisp when scaled down. Always test by zooming out to make sure your text and reaction face are still clear.
What software is best for creating reaction thumbnails?
You have plenty of options depending on your skill level and workflow.
If you want something quick and user-friendly, online WYSIWYG tools like Piktochart or Canva are great for drag-and-drop designs with ready-made templates. They’re ideal if you’re new to design or just want fast results.
For more advanced editing, professional tools like Adobe Photoshop offer full control over layers, effects, and retouching. If you prefer a free and open-source alternative, GIMP gives you much of the same power without the subscription cost.
The best choice really comes down to balancing speed, flexibility, and your comfort with design software.
What colors work best for reaction thumbnails?
Bold, high-contrast colors work best for reaction thumbnails because they stand out in YouTube’s crowded feed.
Bright shades like red, yellow, and neon green are popular choices, especially when paired with darker backgrounds.
The goal isn’t to overwhelm the viewer but to create separation between elements. That way, your reaction face, text, and background don’t blend together.
Consistency also matters: stick to a small palette so your channel develops a recognizable style.
A good rule of thumb is to use one bright accent color to draw the eye and balance it with more neutral tones that keep the design clean.