I’m swiping my way through cobwebs, stepping over skiing gear that nobody’s ever used and then I trip over a box covered in dust.
You guessed it: I’m helping my folks clean out their attic.
For a related read, see our guide on best ai image generators.
That box? Full of old photos.
Family vacations, weddings, Dad when he had long hair and a motorcycle… the memories come flooding back!
But the photos themselves have seen better days. Lucky for them, they’ve been rediscovered in the era of AI – when it’s never been easier to restore old photos.
Join me as I restore old photos using AI, and show you how to do the same!
Before You Start: How to Properly Digitize Your Old Photos
First, let’s show you how to properly digitize your old photos.
Before we’re mocking our family member’s haircuts of yesteryear in high definition, we’ve got to get one thing right: the scan.
A high-quality scan is the most important part of digitizing your old photos. No matter how great the AI rendering is, a bad scan will always be a bad scan.
We call this principle ‘GIGO’: Garbage In, Garbage Out.
Choosing Your Scanning Method
You’ve got three main options when it comes to scanning your old photos that you want to restore: flatbed scanner, a professional scanning service, or a phone scanner.
Flatbed scanners
Flatbed scanners are an affordable, effective method for scanning and restoring old photos. They’re like the friendlier, harder-working cousins of your printer… that lazy guy who never seems to want to do his job properly.
They offer a good balance between affordability and a quality result. Plus, once you’ve got a flatbed scanner, you can always use it again.
Professional scanning service
Professional scanning services offer the highest-quality but most expensive option. They’re ideal if you’ve got a large stack of old photos that need restoring, and you want them scanned quickly.
Professional scanning is mainly available at photo stores.
Smartphone apps
You might also find our article on how to generate royalty free images useful.
Nowadays, there are plenty of photo scanning apps available for smartphones.
While convenient and affordable, these apps are only as good as your phone lens. It’s worth investing in either a photo scanning service or your own flatbed scanner to get the job done once and done right. Remember: garbage in, garbage out!
Which to choose?
Ranging anywhere from $50-500+, you can get a decent home flatbed scanner for around $100. I’d recommend you go with this method – that way you’ve always got one handy!
Essential Scanner Settings for an Authoritative Scan
Resolution (DPI)
The resolution, measured in dots per inch (DPI), determines the level of detail captured in your digital image.
For most standard-sized photos, set your scanner to 600 DPI, striking a good balance between file size and image detail and quality.
However, for smaller photos, scanning them at 1200 DPI is a better choice. This higher resolution allows AI-powered tools like Piktochart’s to capture more detail, resulting in a better finished product.
File format (TIFF vs. JPEG)
The choice of file format is important for long-term preservation. Confused by these random letter jumbles and what they mean? That’s OK – there’s only two you need to know.
TIFF (Tagged Image File Format) is the gold standard for archival purposes. It’s a “lossless” format, meaning that every time you save a TIFF file, there’s no degradation in image quality. This makes it ideal for your master archival copy.
JPEG (Joint Photographic Experts Group), on the other hand, is a “lossy” format. Its smaller size means it’s great for sharing photos online, but some image data is permanently discarded each time the file is saved or edited.
That’s why we recommend scanning your photos as TIFF files if possible, and then create JPEG copies for sharing.
Color mode
Even if you’re scanning old black-and-white photos, it’s best to scan them in 24-bit color. This captures the full spectrum of the image’s tonal range, including any subtle color shifts that may have occurred over time, such as fading or sepia toning – that’s where all the charm is.
Scanning in 24-bit color locks in these unique characteristics, giving your digital scan a more authentic vibe.
Tips for Scanning an Entire Album
When scanning an entire album, follow these simple steps:
Scan a whole page at a time
Looking for more? Check out how to remove text from photos.
The scanning itself is the most time-consuming part, so instead of scanning each individual photo separately, scan a full page of the photo album at once. We can crop them separately afterwards.
Use software to crop photos later
Once you’ve scanned the full pages, you can crop out each individual photo from the scanned page image. Both Windows’ and Mac’s default photo viewers can be used for this.
Create a consistent file naming system
Then, organize the digital files using a clear, consistent naming system – feel free to copy mine: AlbumName_Page01_PhotoA.tiff. This makes it easy to find and manage the photos later.
A Step-by-Step Guide to Restoring Your Old Photos With AI
Now comes the moment you’ve been waiting for! Restoring your old photos using AI.
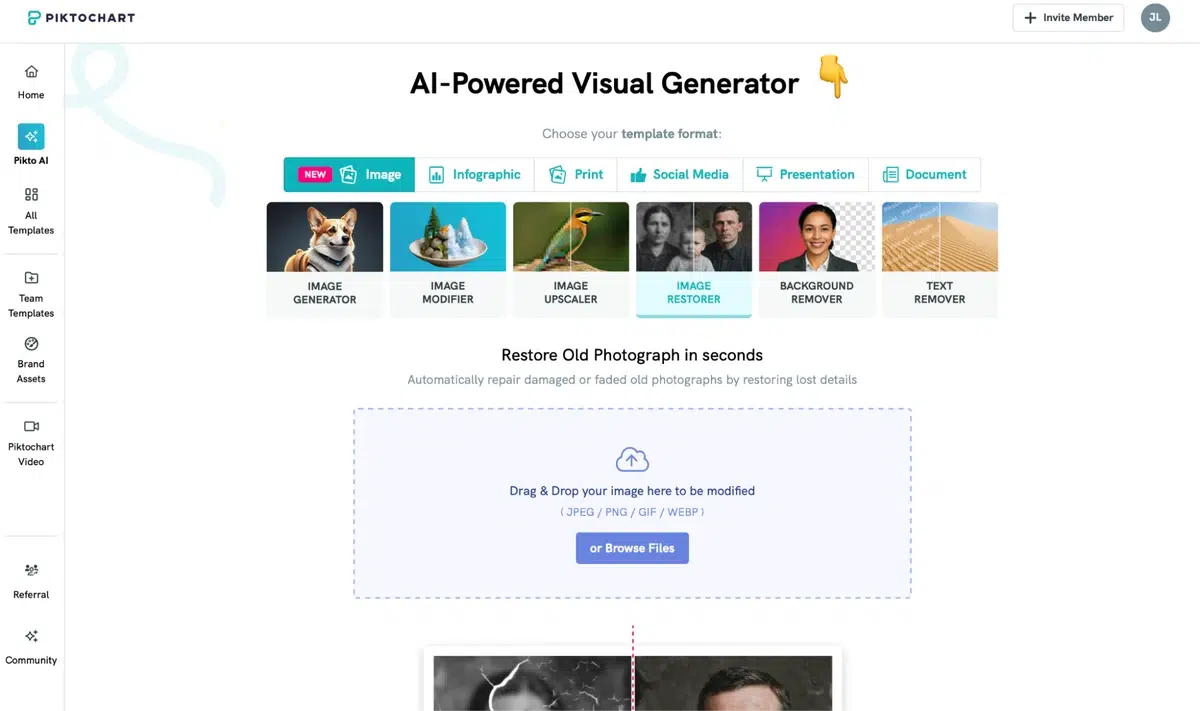
To do this, I’m using Piktochart’s AI-powered image restorer – a powerful tool that lets you restore old photos within seconds, without all the fuss of complicated restoring software.
First, create a Piktochart account and get started with 60 free AI credits. If you have a decent number of photos you want to restore, I’d suggest signing up for a Pro account which is $14 for the month, and comes with 500 AI credits (which will let you restore 20 photos using AI).
This is significantly less expensive than paying for professional photo restoration, so it’s a huge win in my book!
Step 1. Upload Your High Resolution Scan
First, we’ll upload your high resolution scan of the old photo you want to restore.
All you have to do is click ‘Browse Files’ and select your photo.
Step 2. Repair Scratches, Cracks and Blemishes with One Click
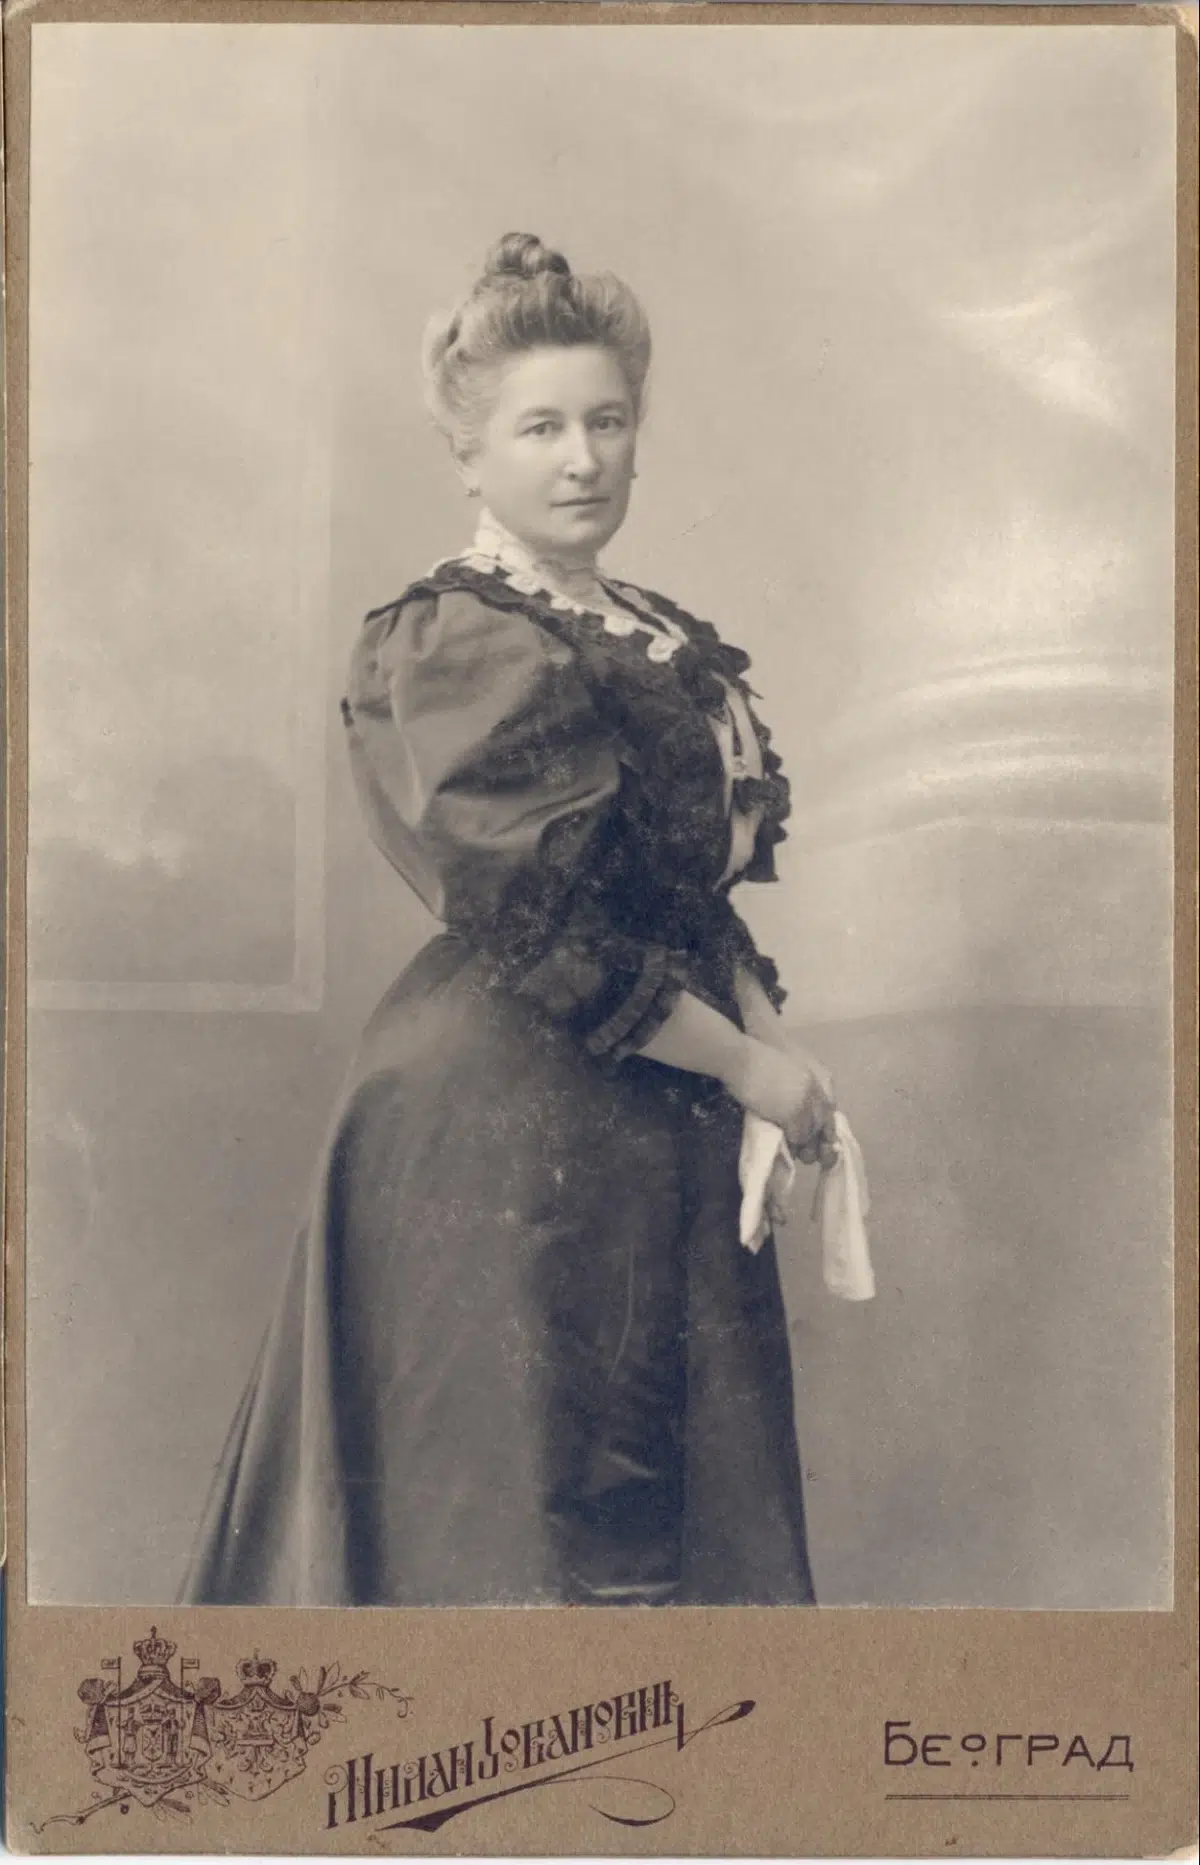
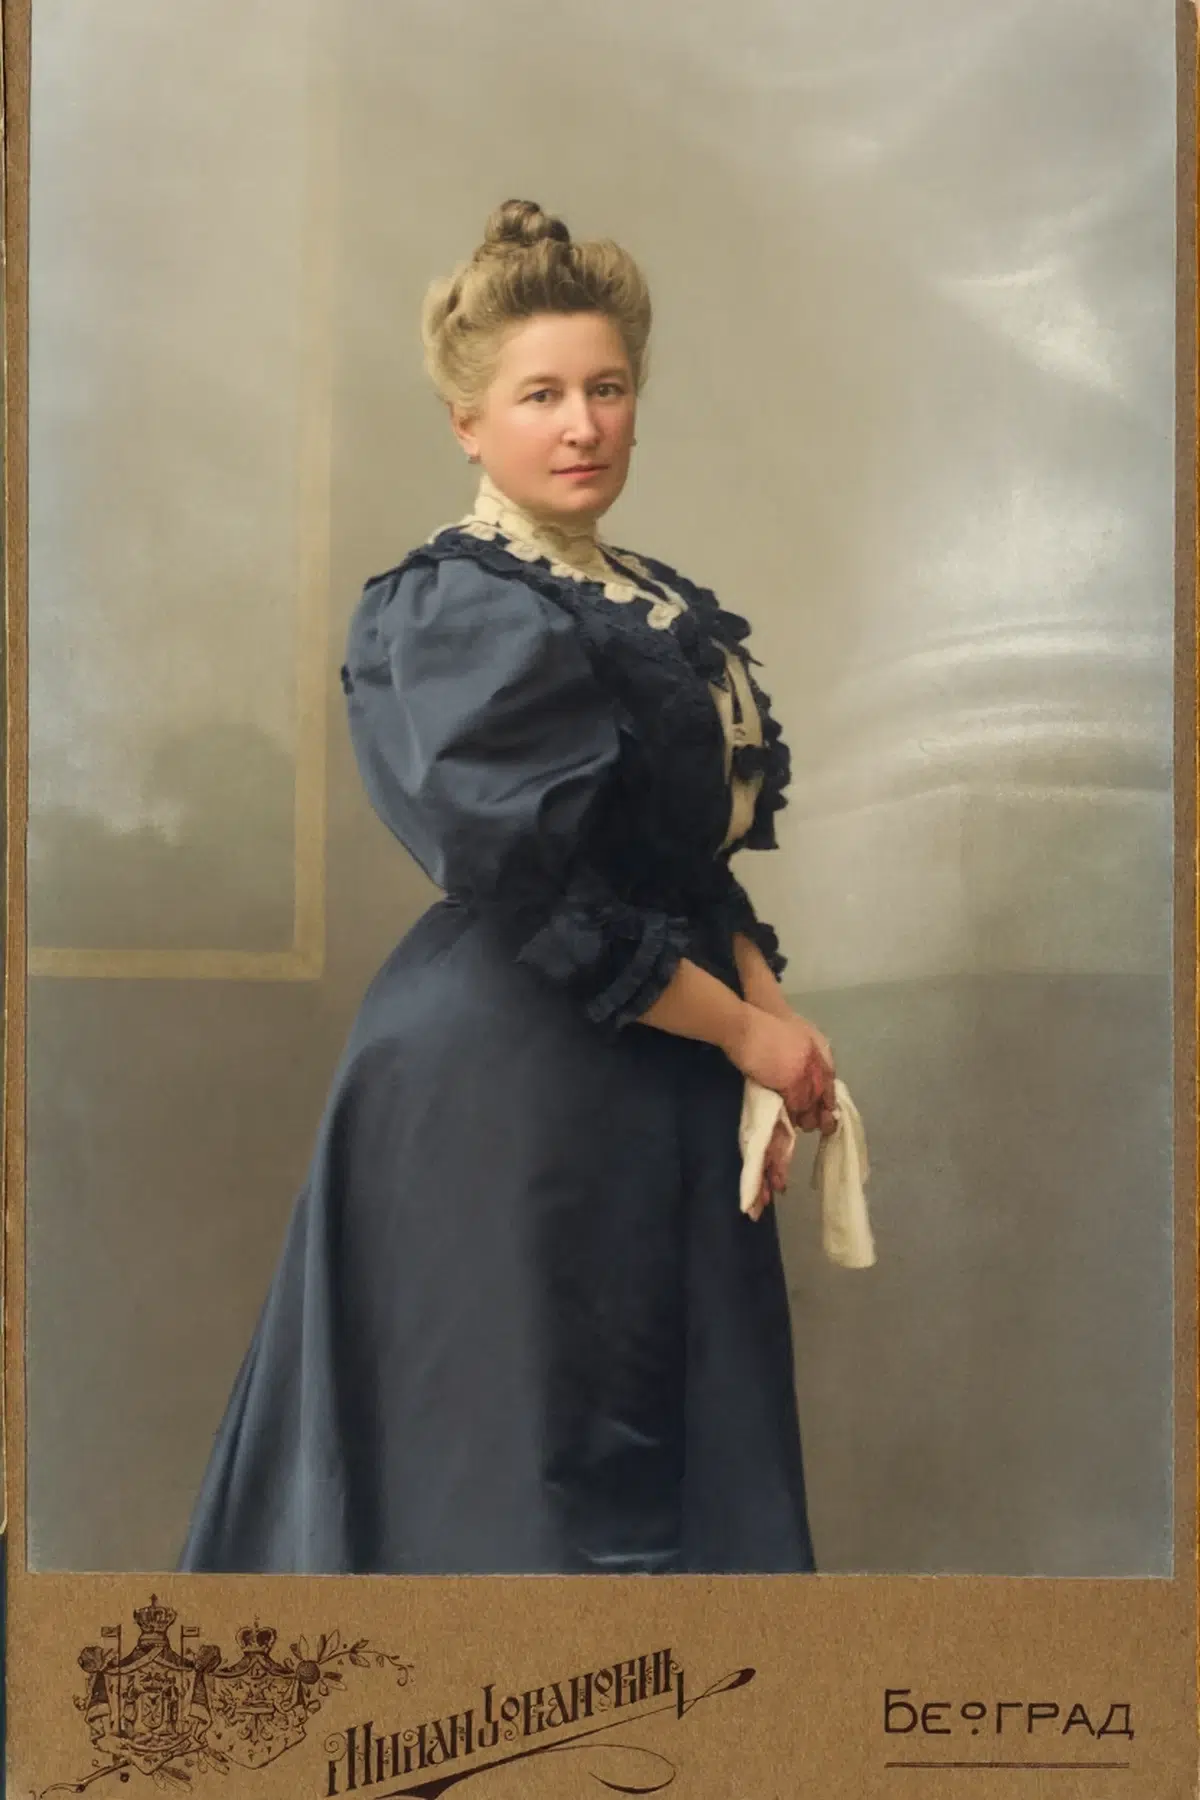
Next, we’re going to repair the damage on your old photos using Piktochart’s image restorer. Check out this photo from the late 1890s Eastern Europe (that’s my great grandmother on the second left!).
It’s clearly gone through a lot… two world wars and moving halfway across the world to be precise. That’ll generally do it!
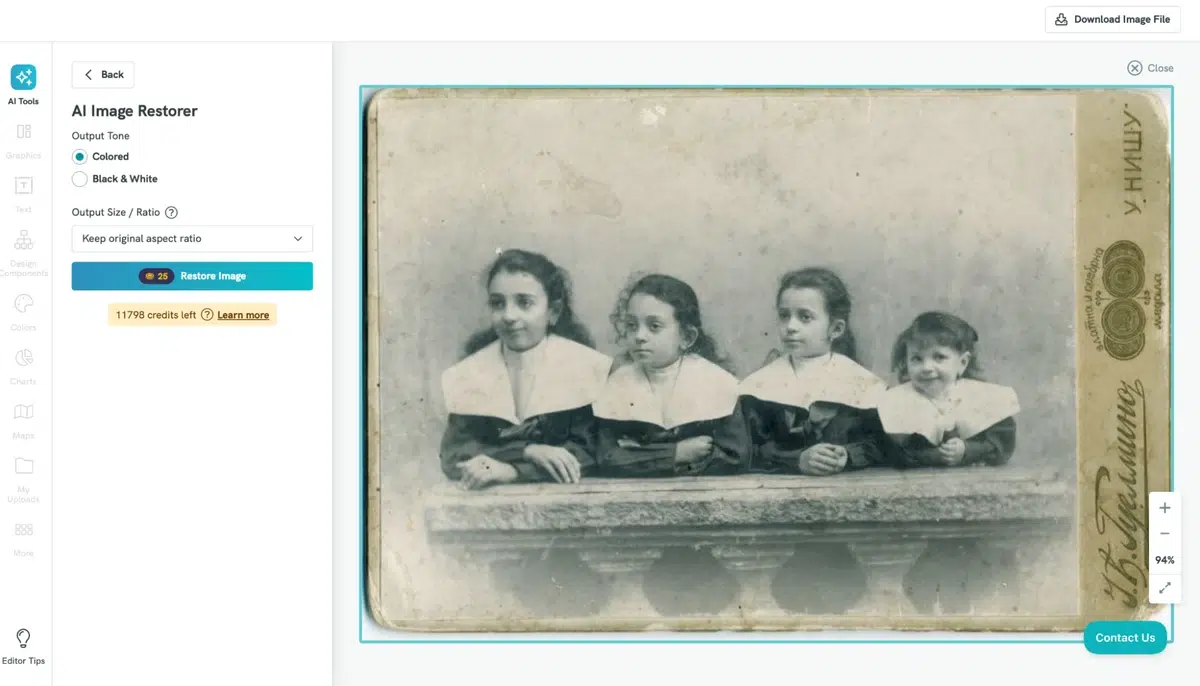
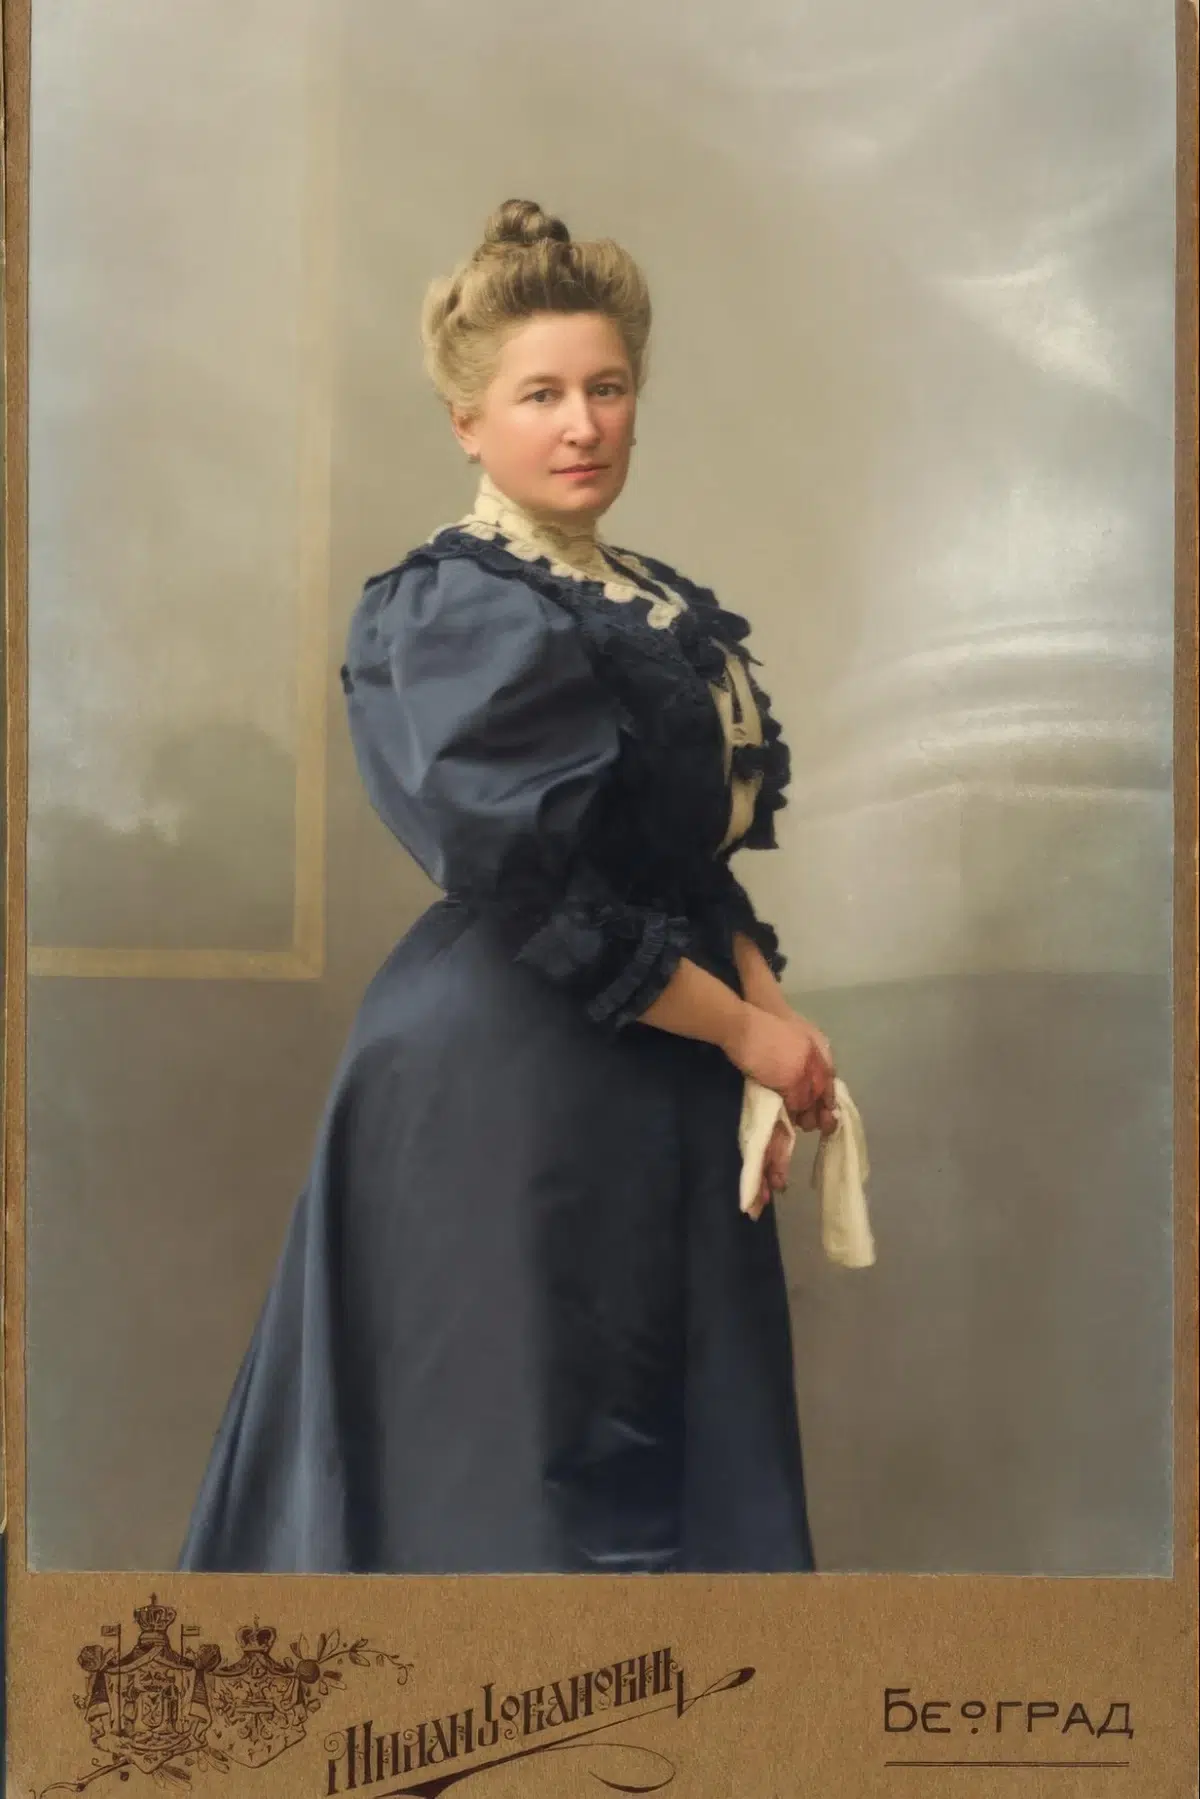
All I had to do was click ‘Restore Image’ and…
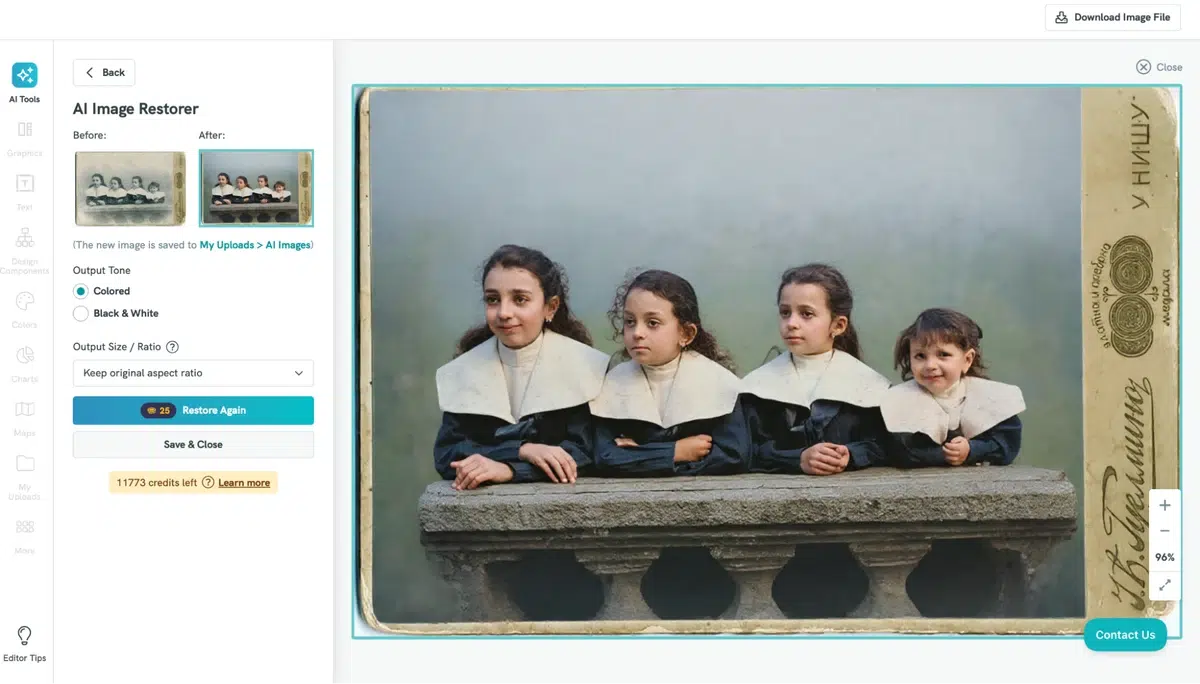
Wow. Much better, right? Look at how perfect the background is – free from blemishes and fading. Now it has a beautiful oil-painting vibe to it, without taking away from the detail of the original.
We also cover this in our piece on viral ai images.
Step 3. Bring Your Photos Back to Life with AI Colorization
You can see that Piktochart’s AI Image Restorer also has instant colorization capabilities. One click and it took my black and white photo from the 1890s and transformed it with stunning, accurate colors.
While the monochrome original has its own unique feeling to it, it almost looks a little creepy! Like a prop they’d use in American Horror Story!
The AI-colorized version brings out the detail so much more, showing the sweet expressions on my relatives’ faces. I find it really turns them into people, rather than just faces on an old, worn-out photo.
Step 4. Enhance Details and Fix Blurriness
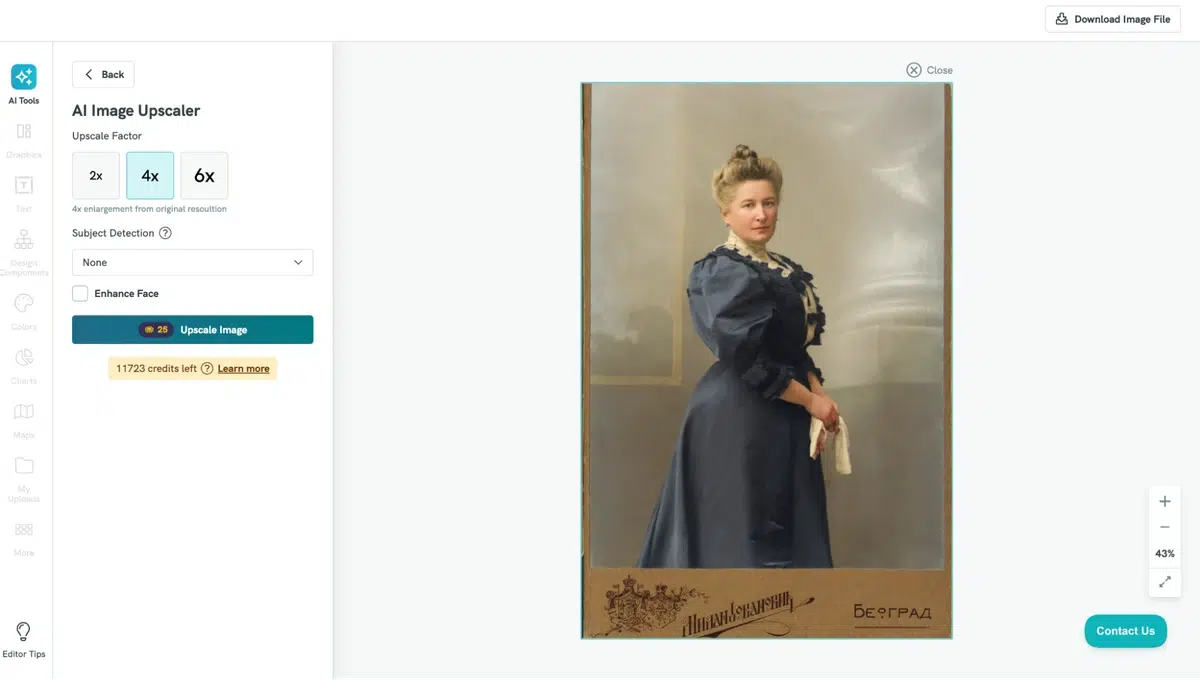
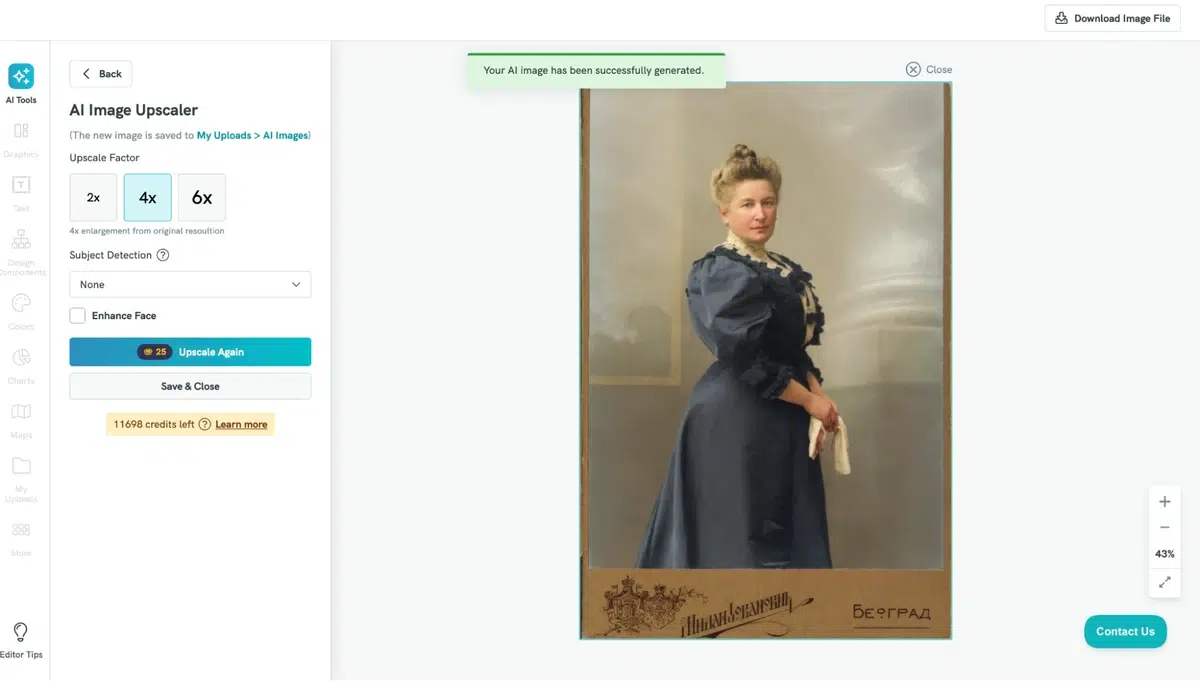
Now, let’s run our restored photos through Piktochart AI’s Image Upscaler. This powerful tool takes your restored photos and adds a finishing touch to them. It can sharpen focus, improve lighting, and bring out hidden facial features with a single click.
Here’s an old photo of my great-great grandmother (yep, no joke!) also from the 1890s. This one was in much better condition than the other one, with fewer blemishes and less fade.
Here’s what it looked like after the running it through Piktochart’s Image Restorer:
The difference is, again, incredible. The color and detail in the restored is easily spotted – just compare the fading and scratches on my great-great grandmother’s dress in the original, versus the perfect polish on the AI-restored version.
Then, to enhance this even more, I used the Image Upscaler. Here’s the result:
The differences are subtle, but there’s just a bit more brightness and focus to the upscaled version of the photo.
Advanced Tips for a Perfect Finish
Now for the final touches!
Using AI to automatically restore your old photos gets us 95% of the way there, but using Piktochart’s manual photo editing tools can add that last 5%.
Fine-Tuning Colors for a Natural Look
Here’s a photo from the 1930s of my grandfather and his cousin as kids.
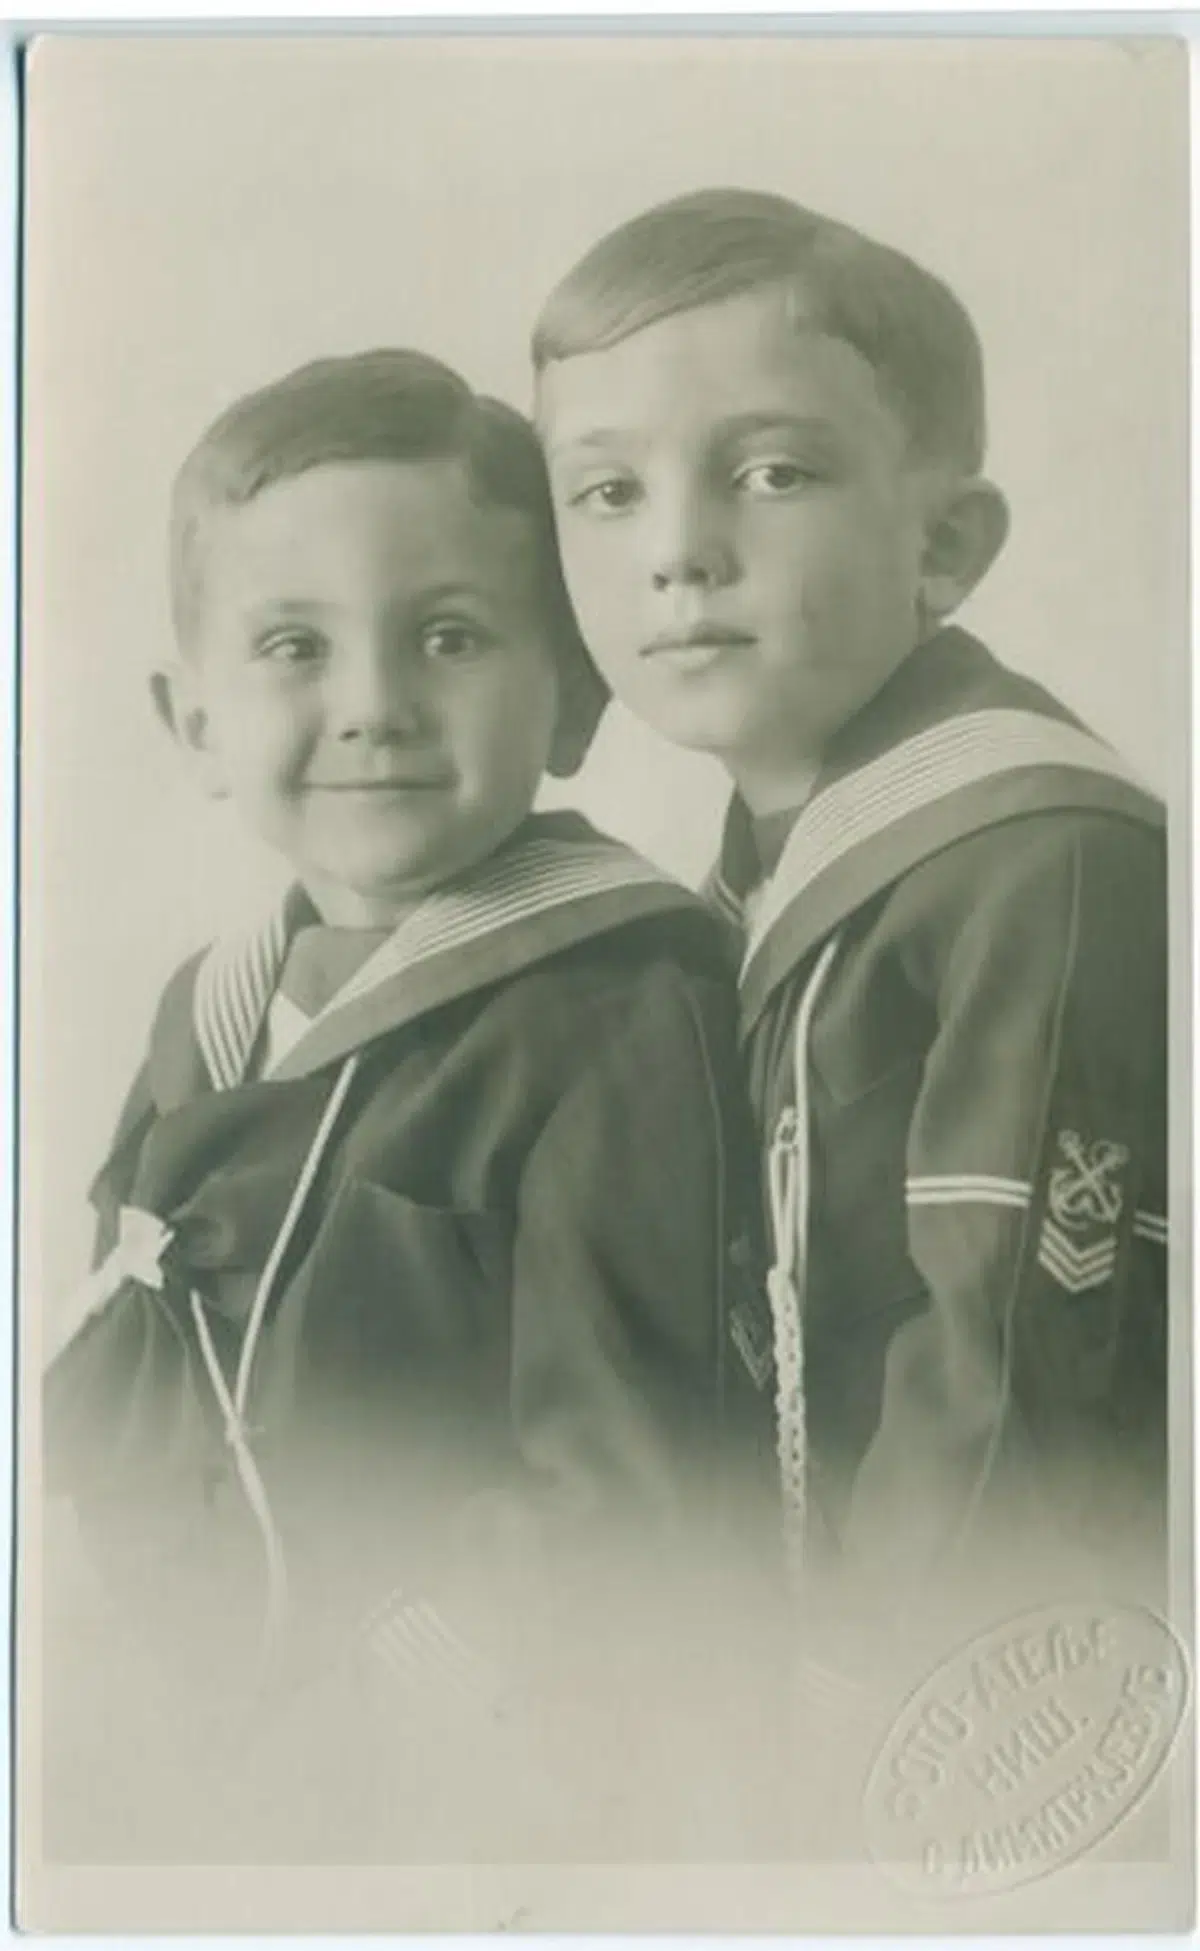
And after restoring and upscaling it, it looks like this:

So cute. Now to add a bit of color-tuning using Piktochart’s Image Modifier AI tool!
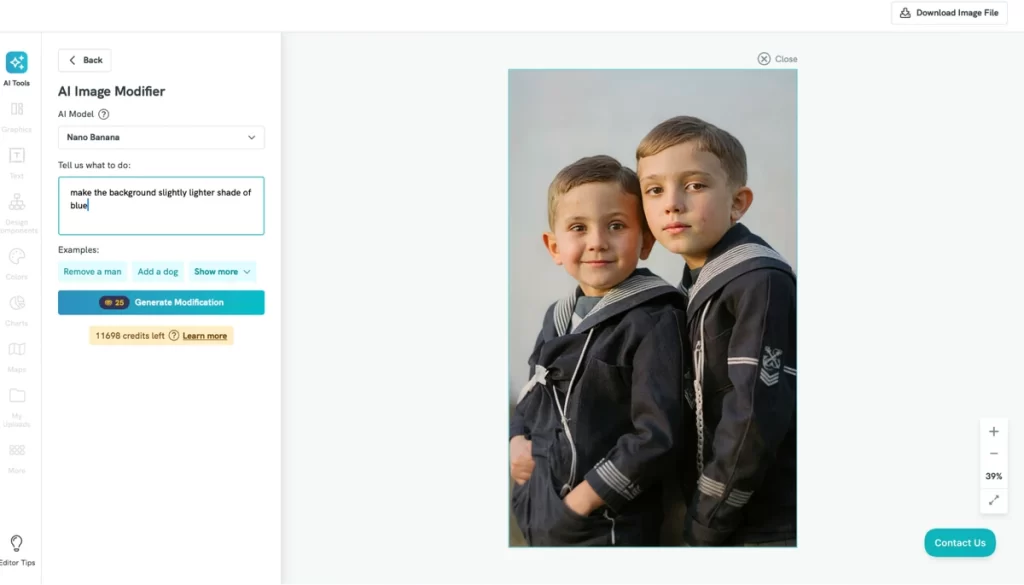
One simple instruction – that’s all you need. No messing around with complex programs… the AI does everything for you.
The results are pretty incredible if you ask me. Take a look!

How to Enlarge Old Photos for Printing
Want to print and hang your restored photos? Enlarging them using Piktochart’s auto-resize tool is easy as pie.
Simply click on ‘Page Size’, set the width or length you want, and check the ‘Resize Content’ box. Your photo will be resized without losing any resolution.
Saving and Sharing Your Restored Memories
The final step! Sharing your restored memories on social media and making all your friends go, ‘awww!’
Best Practices for Saving your Digital Files
When saving your digital photos, it’s always best to create two copies: the full-resolution master copy in TIFF format and the smaller, sharable JPEG format.
The reason we do this is because TIFFs are excellent for preserving the image quality, but aren’t so great for sending in emails or sharing on social media due to their file size. JPEGs are great for sharing, but are “lossy” files, meaning that their quality diminishes with every time they’re edited.
Ideas for Sharing Your Restored Photos
Using the JPEG versions of our photos, let’s get creative when sharing them with our friends and family. Most people create a digital photo album using their restored photos – there are plenty of free programs that let you do this. Others opt for a simple social media share, with different apps letting you choose suitable borders.
Possibly the coolest way to present these restored photos is in a personalized calendar – especially if you’ve got a large collection of photos. You could do one event or period (i.e. a family vacation, a wedding, or moving into a new home) for every month of the year, using 2-3 photos of each event.
Just search your local area for businesses that offer personalized calendars – photo stores and office supply stores are your best bet.
Photo Restoration FAQ
What’s the best free tool to restore old photos?
There are a range of free tools available to restore old photos, but I find Piktochart the most effective and easiest to use. Each of the photos I’ve restored on this blog was done using Piktochart’s AI Studio – a powerful tool for restoring all the old photos you love.
Other options include Adobe Photoshop, but if you’re not familiar with the program, it can be quite complex to operate. Piktochart is the perfect option for non-designers.
Can this help me recover deleted photos from my phone?
If you’ve got a physical copy of a photo, but it’s been deleted from your phone, then restoring and digitizing the photo will solve this. When you scan the photo and restore it, you’ll have a permanent digital copy which you can keep on your phone, allowing you to view and share it whenever you like.
A good way to ensure your restored photo is always kept safe is to store it on a cloud service. This way, if your phone, computer or hard drive fails, the file is still recoverable.
Should I use an AI tool or a professional restoration service?
Both AI tools and professional restoration services are great ways to restore old photos. However, using an AI tool and doing it yourself can be a fun, rewarding and money-saving way to achieve the same result as a professional restoration service.
While many professional restorers are great at what they do, this method is expensive – typically from $3-30 per photo, and that’s just for basic restoration. Plus you might not be comfortable handing over your treasured photos to a third party – there’s always a chance that photos get misplaced or damaged in the process.
How do I clean old photos before scanning?
To clean old photos before scanning and restoring them, wear cotton or nitrile gloves before handling them. Then, use a manual air blower to puff off any loose dust before using camel hair brush to gently brush off remaining dust without scratching the photo.
For smudges and fingerprints, you can try a very gentle wet cleaning. Lightly dampen a corner of a clean microfiber cloth with distilled water—the cloth should be just barely moist. In a single, gentle swipe, wipe the smudge away, and then let the photo air dry completely before scanning.
Start restoring your old photos today using Pikto AI
With Pikto AI, it’s easy to restore your old photos.
Sign up for Pikto AI