Poster design is, for most of us, a right ol’ pain in the backside.
Scrolling through 100 boring templates, finding nothing.
Laboring over dragging images from one place to another, only for them to move again.
Why? Why does it have to be so hard?
Plot twist: it doesn’t.
If you’re tired of fighting the urge to toss your laptop out the window in frustration when designing a poster, this article is for you.
We’ll show you how to design a poster for an event, quickly and easily. No rage-quitting necessary.
What To Include In Your Event Posters
So, let’s talk content.
All posters need:
- A clear, attention-grabbing title
- Relevant images
- Uncluttered design
- Strong call to action
A Clear, Attention-Grabbing Title
A good poster title should be concise, informative, and engaging, communicating the point of the poster in just a few words. Here’s an example of a good poster, and a bad one.
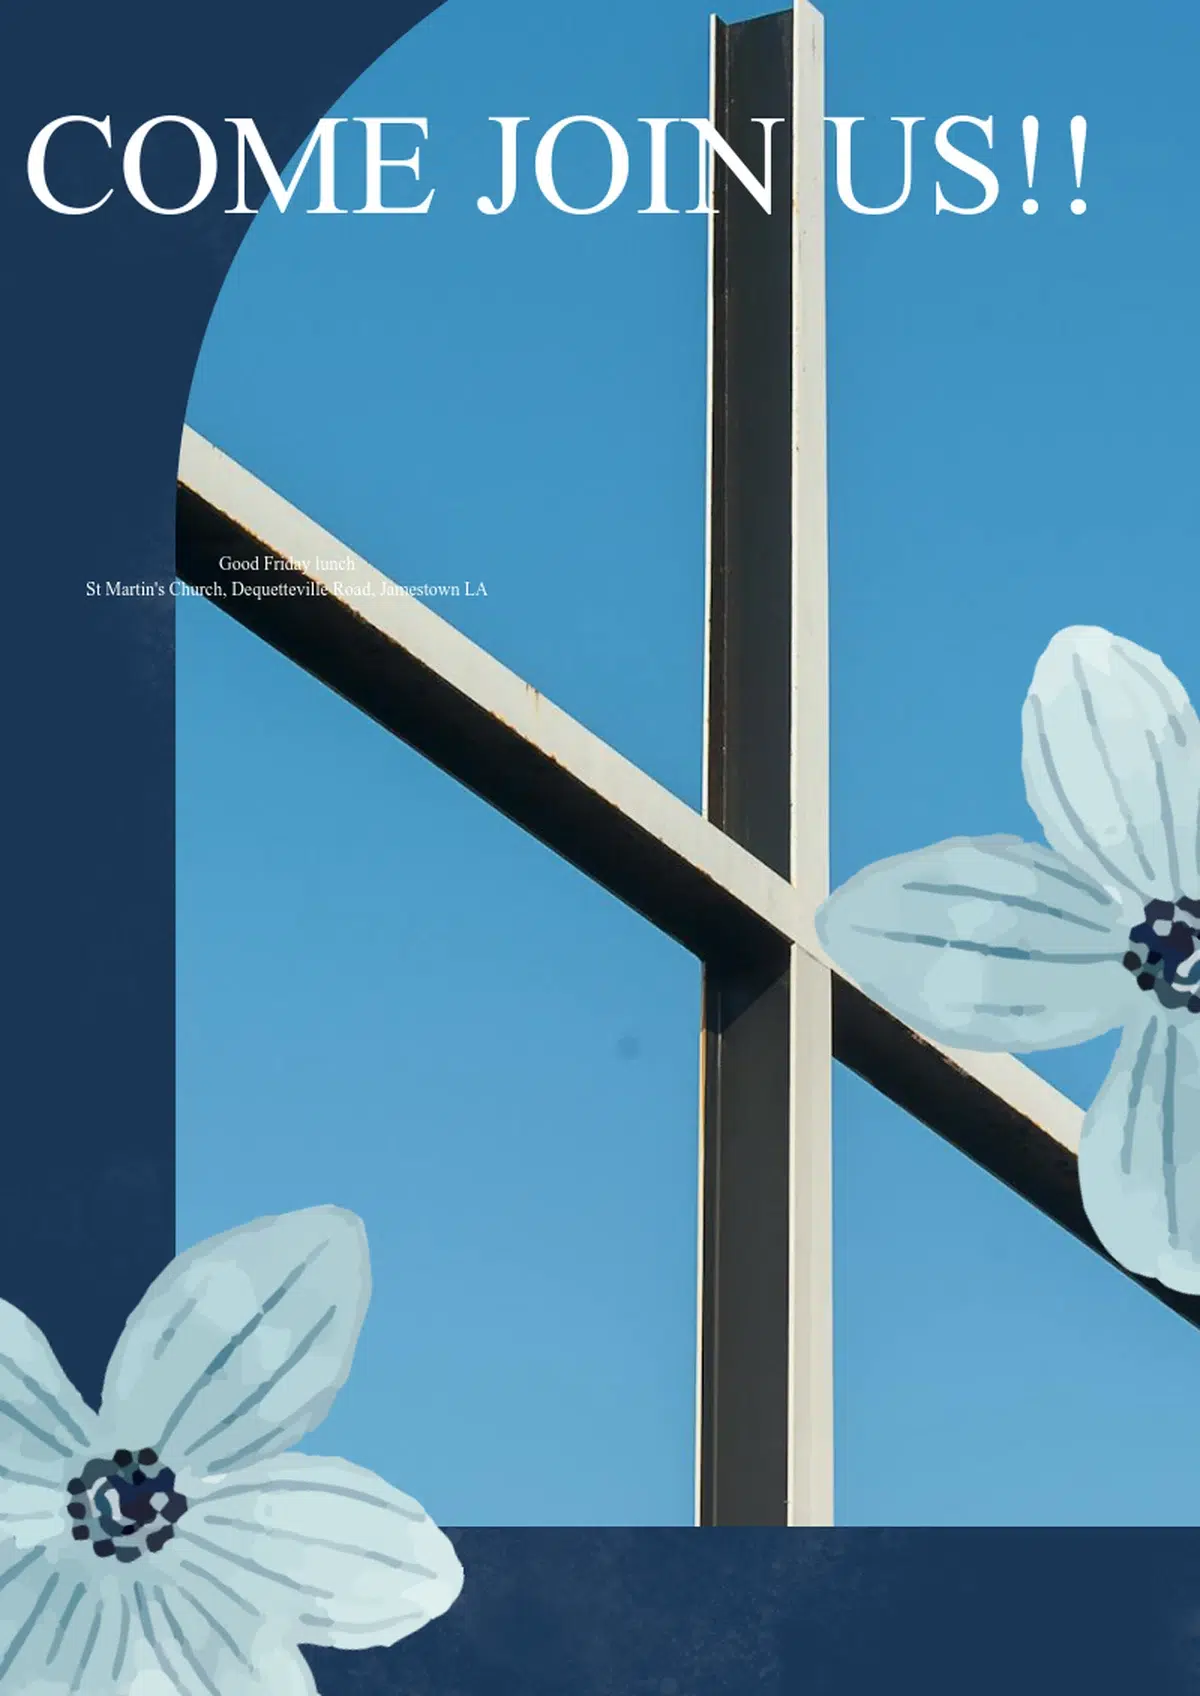

The poster on the left is obviously bad. Its title tells you nothing about the event, and the description of the event is way too small and hard to read.
The poster on the right is much more effective: clear and succinct title with a visible description.
Keep the title within two lines of text, and use 48-point, bold-lettered font or larger.
Bad poster title: Come on Down to the River and Check it All Out!
(long, convoluted and doesn’t explain the ‘what’ of the event)
Good poster title: Annual River Boating Expo
(explains the whole event in four words).
Relevant Images
Relevant poster images should give your audience a summary of what your event will look like. What image are you selling to passersby?
Choose images that give the audience a sneak-peak of your event: think an adorably happy pooch for a dog training seminar, for example.
Images should be 300 DPI or higher. To check the DPI of an image on Windows, right-click the image, select “Properties,” then go to the “Details” tab. On a Mac, open the image in Preview, go to “Tools,” then “Show Inspector,” and find the resolution under the “More Info” tab.
If the horizontal and vertical resolution are both at least 300, you’ve got a high-resolution image.
The poster should be clearly visible from 5 feet away.
Uncluttered Design
Give all the elements of your poster room to breathe to avoid cramming in as much info as possible for the sake of it. You’re aiming to give the audience all the information they need in an easy-to-digest format.
A solid rule is to use 30% of your poster for white space, 40% for your title and text, and the last 30% for graphic images.
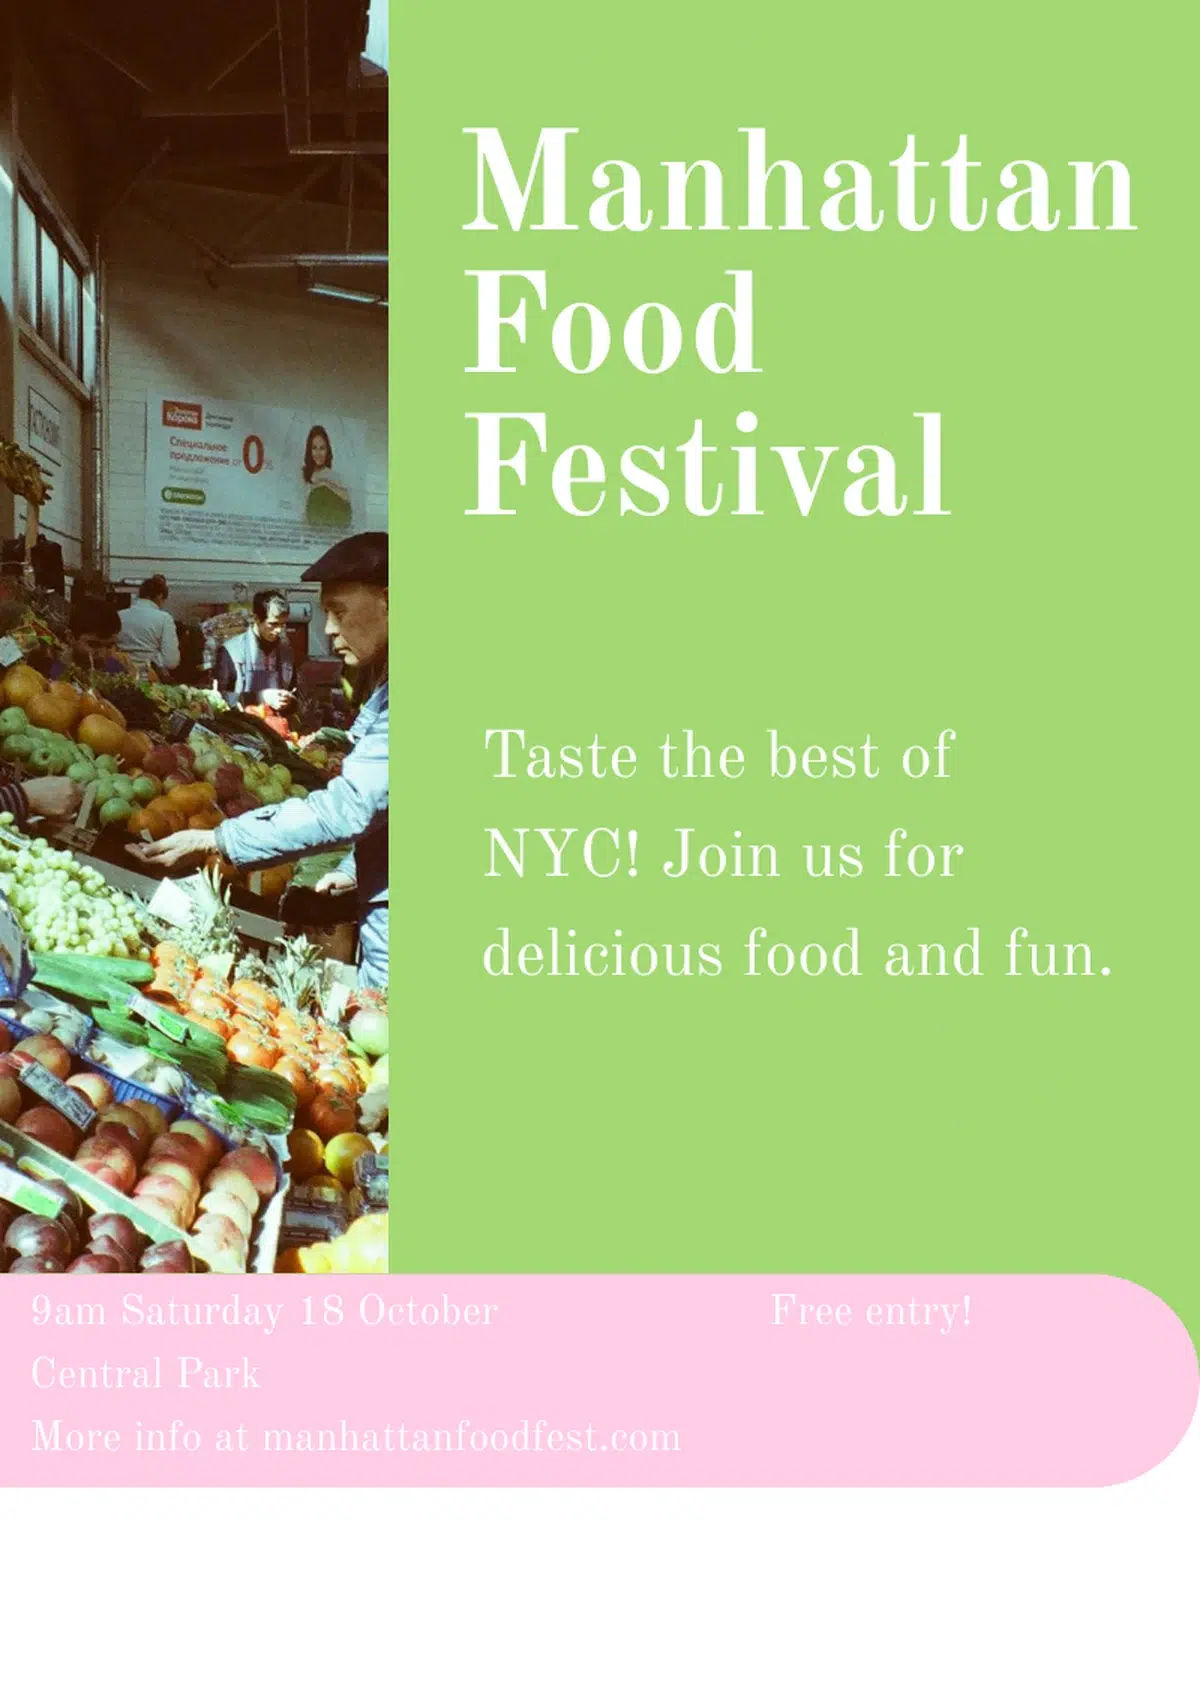
Here’s something I whipped up using Piktochart’s AI Text-to-Poster tool, which more or less follows the 30-40-30 rule. This took me about 2 solid minutes to create.
Strong Call to Action
Finally, use a call to action to direct readers where you want them to go or how you want them to respond. ‘Book Now’, ‘Join Us’, ‘Come Celebrate…’ – these are all ways to draw your audience into attending your event.
Now you’ve got all the ingredients we need for a sweet event poster, how do we assemble them?
Thankfully, it’s easier than putting together flat-pack furniture from everyone’s favorite Swedish furniture manufacturers! There are 3 key ways to design a poster without the headache.
1. Use an AI Poster-Making Tool
An AI-poster making tool turns your text prompt into a great visual that applies all the principles and includes the elements mentioned above in just seconds.
AI tools can save you massive amounts of time and effort, and take the headache out of creating an event poster from scratch (something that I, as a non-designer, often struggle with).
There are a bunch of high-quality, affordable AI poster-designers available today – among which Piktochart is a leader.
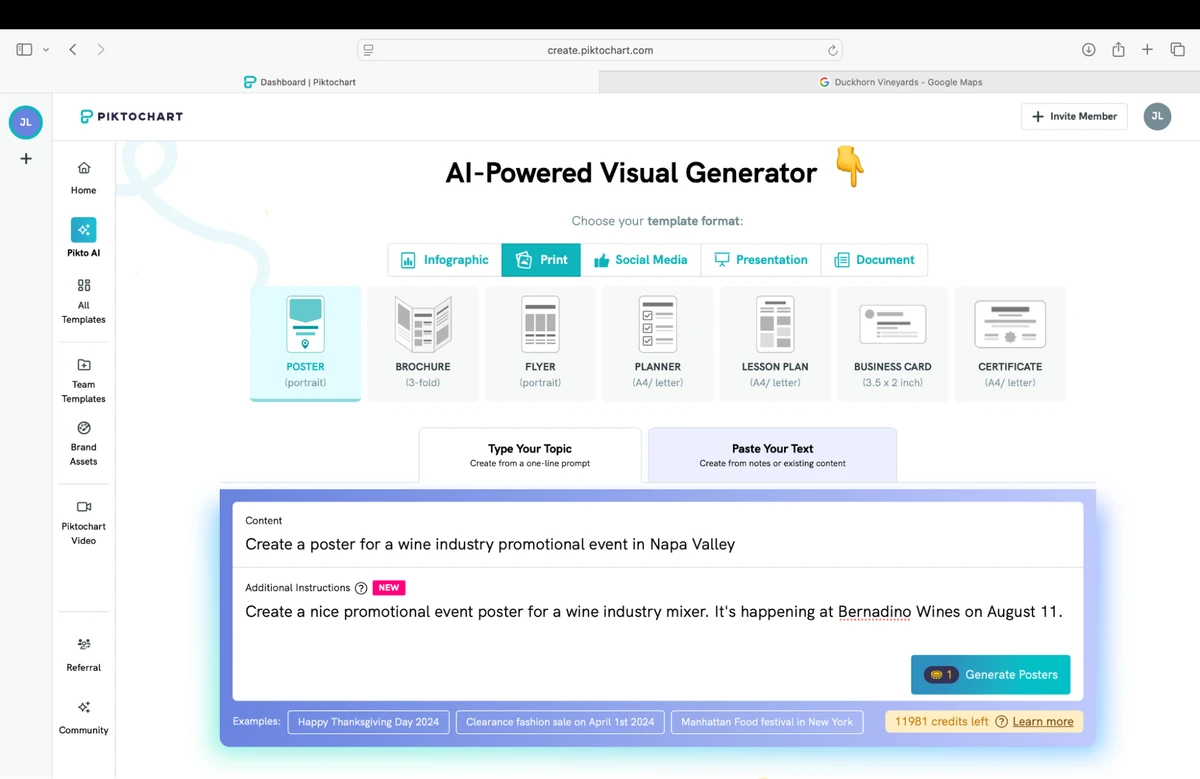
With Piktochart’s Text to Poster tool, all you need to do is select your poster type (e.g. for social media, print, etc.) pop in your content, give some additional instructions and away you go!
Here’s something I created in just a few minutes. Yep, that quick!
Within seconds, Piktochart gave me a decent-looking draft for my event poster (can you tell I’m thinking about wine while at work?). All it needed was a little tweaking, and it was good to go.
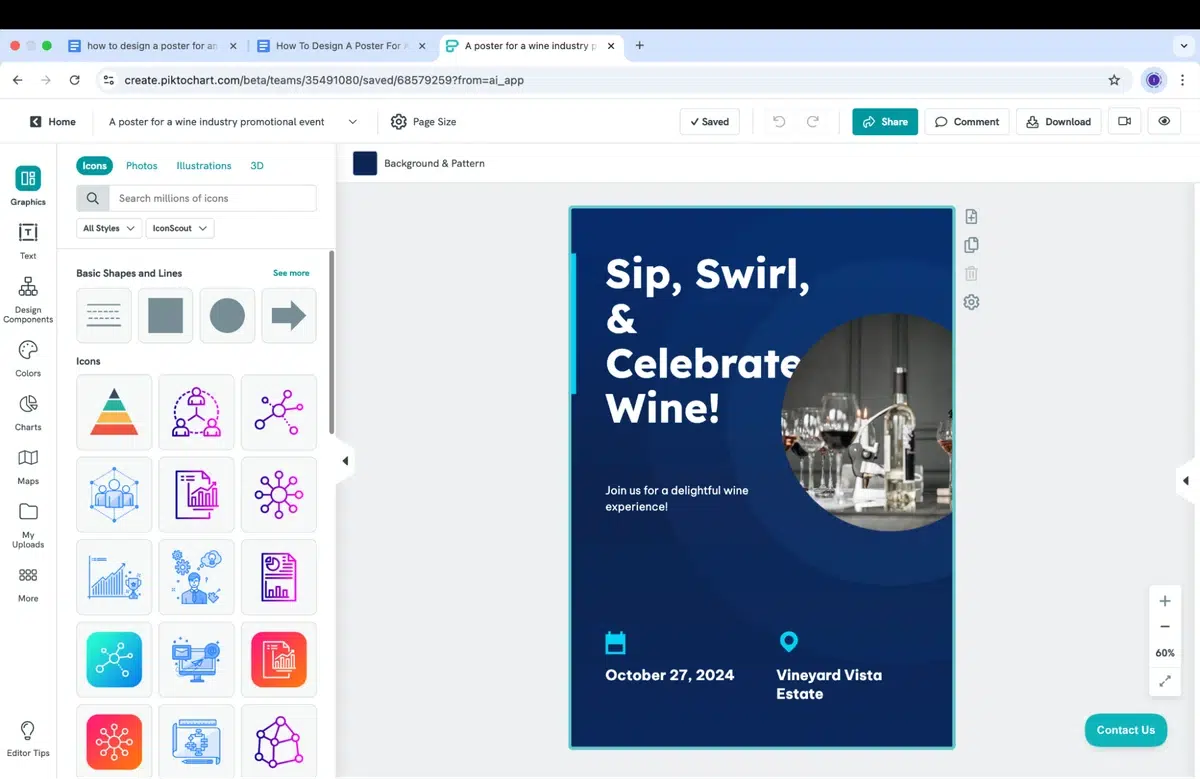
Within about 10 minutes, you’ve got yourself a great-looking poster.
The Pros of AI Poster-Making Tools
For someone who wants a simple, attractive poster that doesn’t take half a day (or even half an hour) to make, an AI tool like Piktochart’s Text to Poster tool is pretty unbeatable.
Speed and efficiency is definitely the main drawcard of using an AI poster-maker. Instead of manually selecting each and every element, which can be a drag if you’re not super well-versed in design programs, AI does most of the hard work for you.
This can easily save you over an hour of work, which is welcomed by design newbies like myself who aren’t savvy with programs.
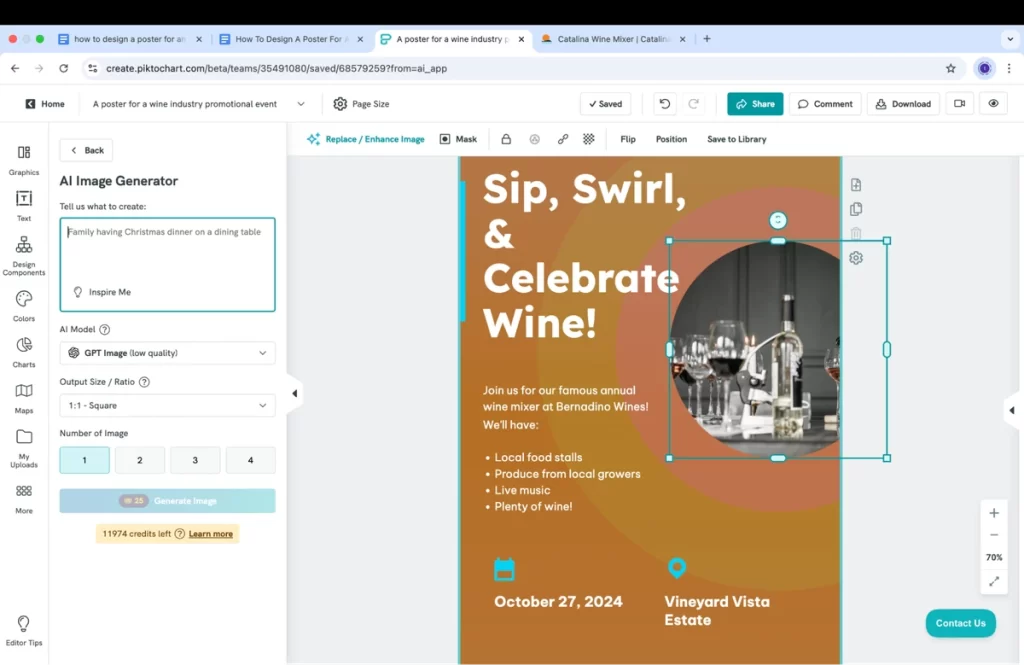
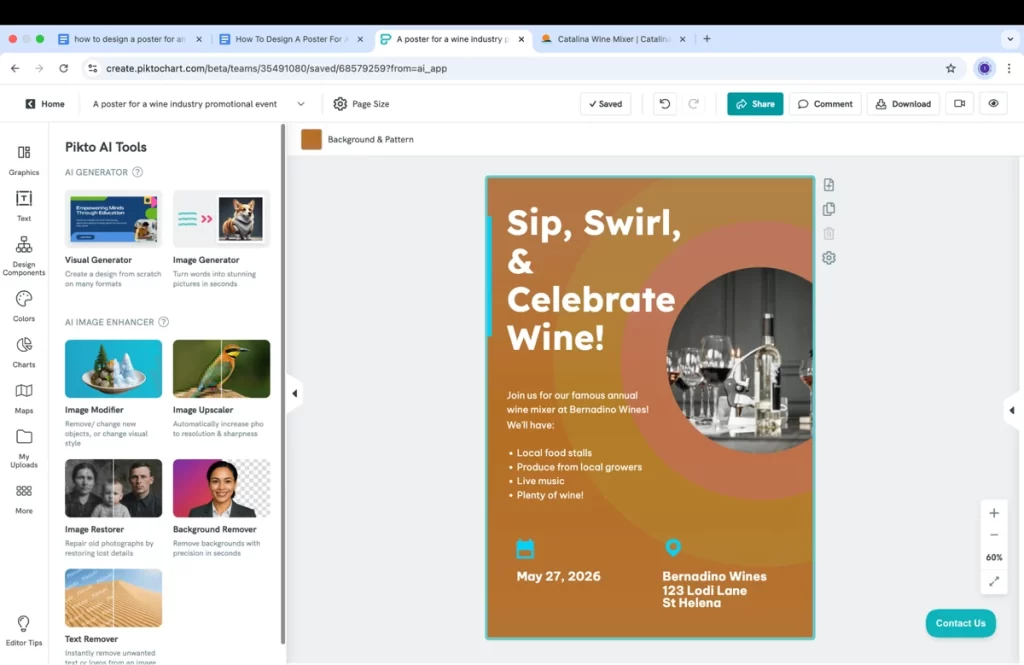
You’ve also still got plenty of design freedom, as you can see in the transformation of my wine mixer poster. I chose earthier colors, different from the AI had generated initially.
AI poster-designing tools are wildly convenient, too. If you need to send the design to a colleague, or work on it from a different device, all you have to do is share the link.
This means no wasting time with downloading files, storing 10 different versions of it, emailing them to yourself, organising a carrier pigeon, or any other archaic way of file sharing.
For companies and brands, you can change the generated color palette to your company’s signature colors with Piktochart Brand Assets. This saves you from manually changing the colors and logos every single time you create a poster – you just click one button instead, and it’s all done for you.
Potential Cons of Using AI
Some AI poster-making tools can have limited customization abilities. This means you generate a poster online but it doesn’t give you quite what you need, and you’re stuck there because you can’t customize it. I’ve had a couple bad runs with ChatGPT in this exact scenario.
But with Piktochart, this was anything but the case. I had free reign over design customization, with everything from images to icons to page layout and color schemes.
And, of course, you always need an internet connection to design a poster for an event with AI. But hey, most design tools are online these days!
2. Use Existing Templates
Quick, easy and ready-to-go. Existing templates are the microwave meals of the poster world.
Templates are basically examples that are attractive enough to use as a base for your own work, but generic enough to customize easily.
Basically anyone can make an event poster online using a template. Most tools, including Piktochart, have a plethora of templates to choose from.
Why Existing Templates Are Popular for Event Posters
A premade template for an event poster means designing one for your needs is simple, easy to access and (a lot of the time) free.
Take Microsoft Create, for example.
It’s got a whole bunch of templates available in poster format, and they’re free to access if you’ve got a Teams subscription.
Drawbacks
There’s a catch. For many professionals, the templates from Microsoft Create are far too basic.
In terms of range, it’s also slim pickings compared to other template galleries. I searched for a wine industry event poster on Microsoft, and these were the top ‘matches’:
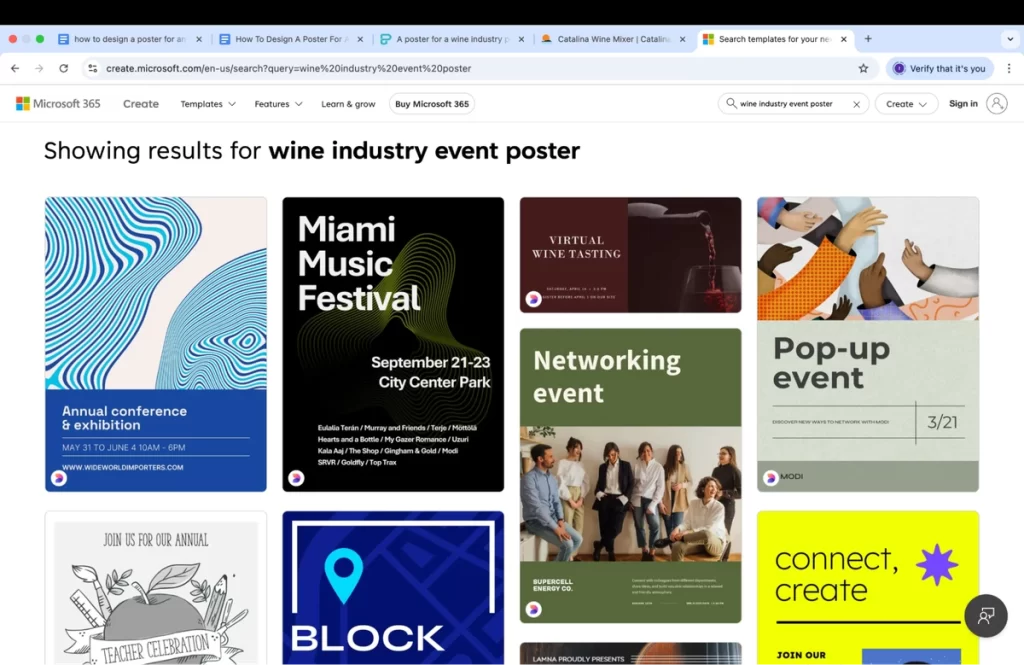
As you can see, none of these is what I’m looking for. And most of them are kind of… meh.
A music festival? A networking event? These are a far cry from a wine mixer.
Then there are the potential scalability issues when trying to print the template out. We all know how finicky Microsoft can be when it comes to resizing things.
Piktochart Existing Templates for Event Posters
Not all templates are made bland and boring, however.
I checked out some Piktochart’s event poster design templates and was very impressed with the range, styling and overall quality of what’s available.
You don’t need to be a design expert to see that these event poster layouts are far more polished and just nicer to look at than elsewhere.
3. Starting from Scratch
And now we come to the old-school method of making an event poster online from scratch.
Why start from scratch in an era when we have access to AI-tools and pre-made templates?
Well, there’s a couple of reasons.
First, you gain full creative control over designing your event poster, which is perfect if you know your way round design programs.
You also make use of higher priced tools for fine-tuned edits – again, handy, but only if you’ve got the skills.
This function lets you set up custom brand fonts and font schemes, establish your brand colors, and upload and access your brand logos whenever you need them. You can basically whip up a branded event poster layout with one click.
Challenges of Starting an Event Poster from Scratch
If you’re like me and have very little design experience, then there’s one monolithic thing standing in your way of starting from scratch: the learning curve.
The very steep, very time-consuming, often frustrating learning curve!
Whether you’re a researcher or marketer, you probably don’t have much time on your hands to mess around trying to master a design program – especially when all you need is to make a simple poster for an event.
Plus, if you want to get technical with high-end software, you might need the hardware to go with it… a 6-year-old laptop probably won’t cut the mustard there!
The Verdict: Use An AI Poster-Maker or a Template
For this reason, we’ll choose a solid AI-powered visual program or a nice-looking template for an event poster, over a handcrafted one, any day.
And with Piktochart’s growing suite of tools, particularly in the way of AI, making a captivating poster for an event will only get easier in the future.
Keen to get started on designing an event poster that gets people excited for your event? Piktochart’s range of stunning templates and its Text to Poster Tool are the ideal places to start.