
Email has become ubiquitous and it’s not going anywhere. In fact, according to Paul Buchheit – partner at Y Combinator, founder of FriendFeed and a key Googler – “email is not going to disappear. Possibly ever. Until the robots kill us all”. He developed Gmail, so he might know a thing or two about email.
If email isn’t dead, what about email marketing? 68% of consumers find email to be their #1 preferred channel for receiving commercial messages (CG Selections “Nationaal Email Onderzoek” (2013)), and 66% of consumers have made a purchase online as a direct result of an email marketing message (Direct Marketing Association (2013)).
Email marketing is not dead, but it is changing
The average tech-savvy consumer receives dozens of emails and promotions in their inbox everyday. Most of them are junk or someone trying to sell something. This means that the only way to break through the noise and grab the reader’s attention is by crafting a beautiful, valuable and engaging email.
In this post, we’ll learn how to do that by transforming a Piktochart template, originally designed as an infographic into an email newsletter.
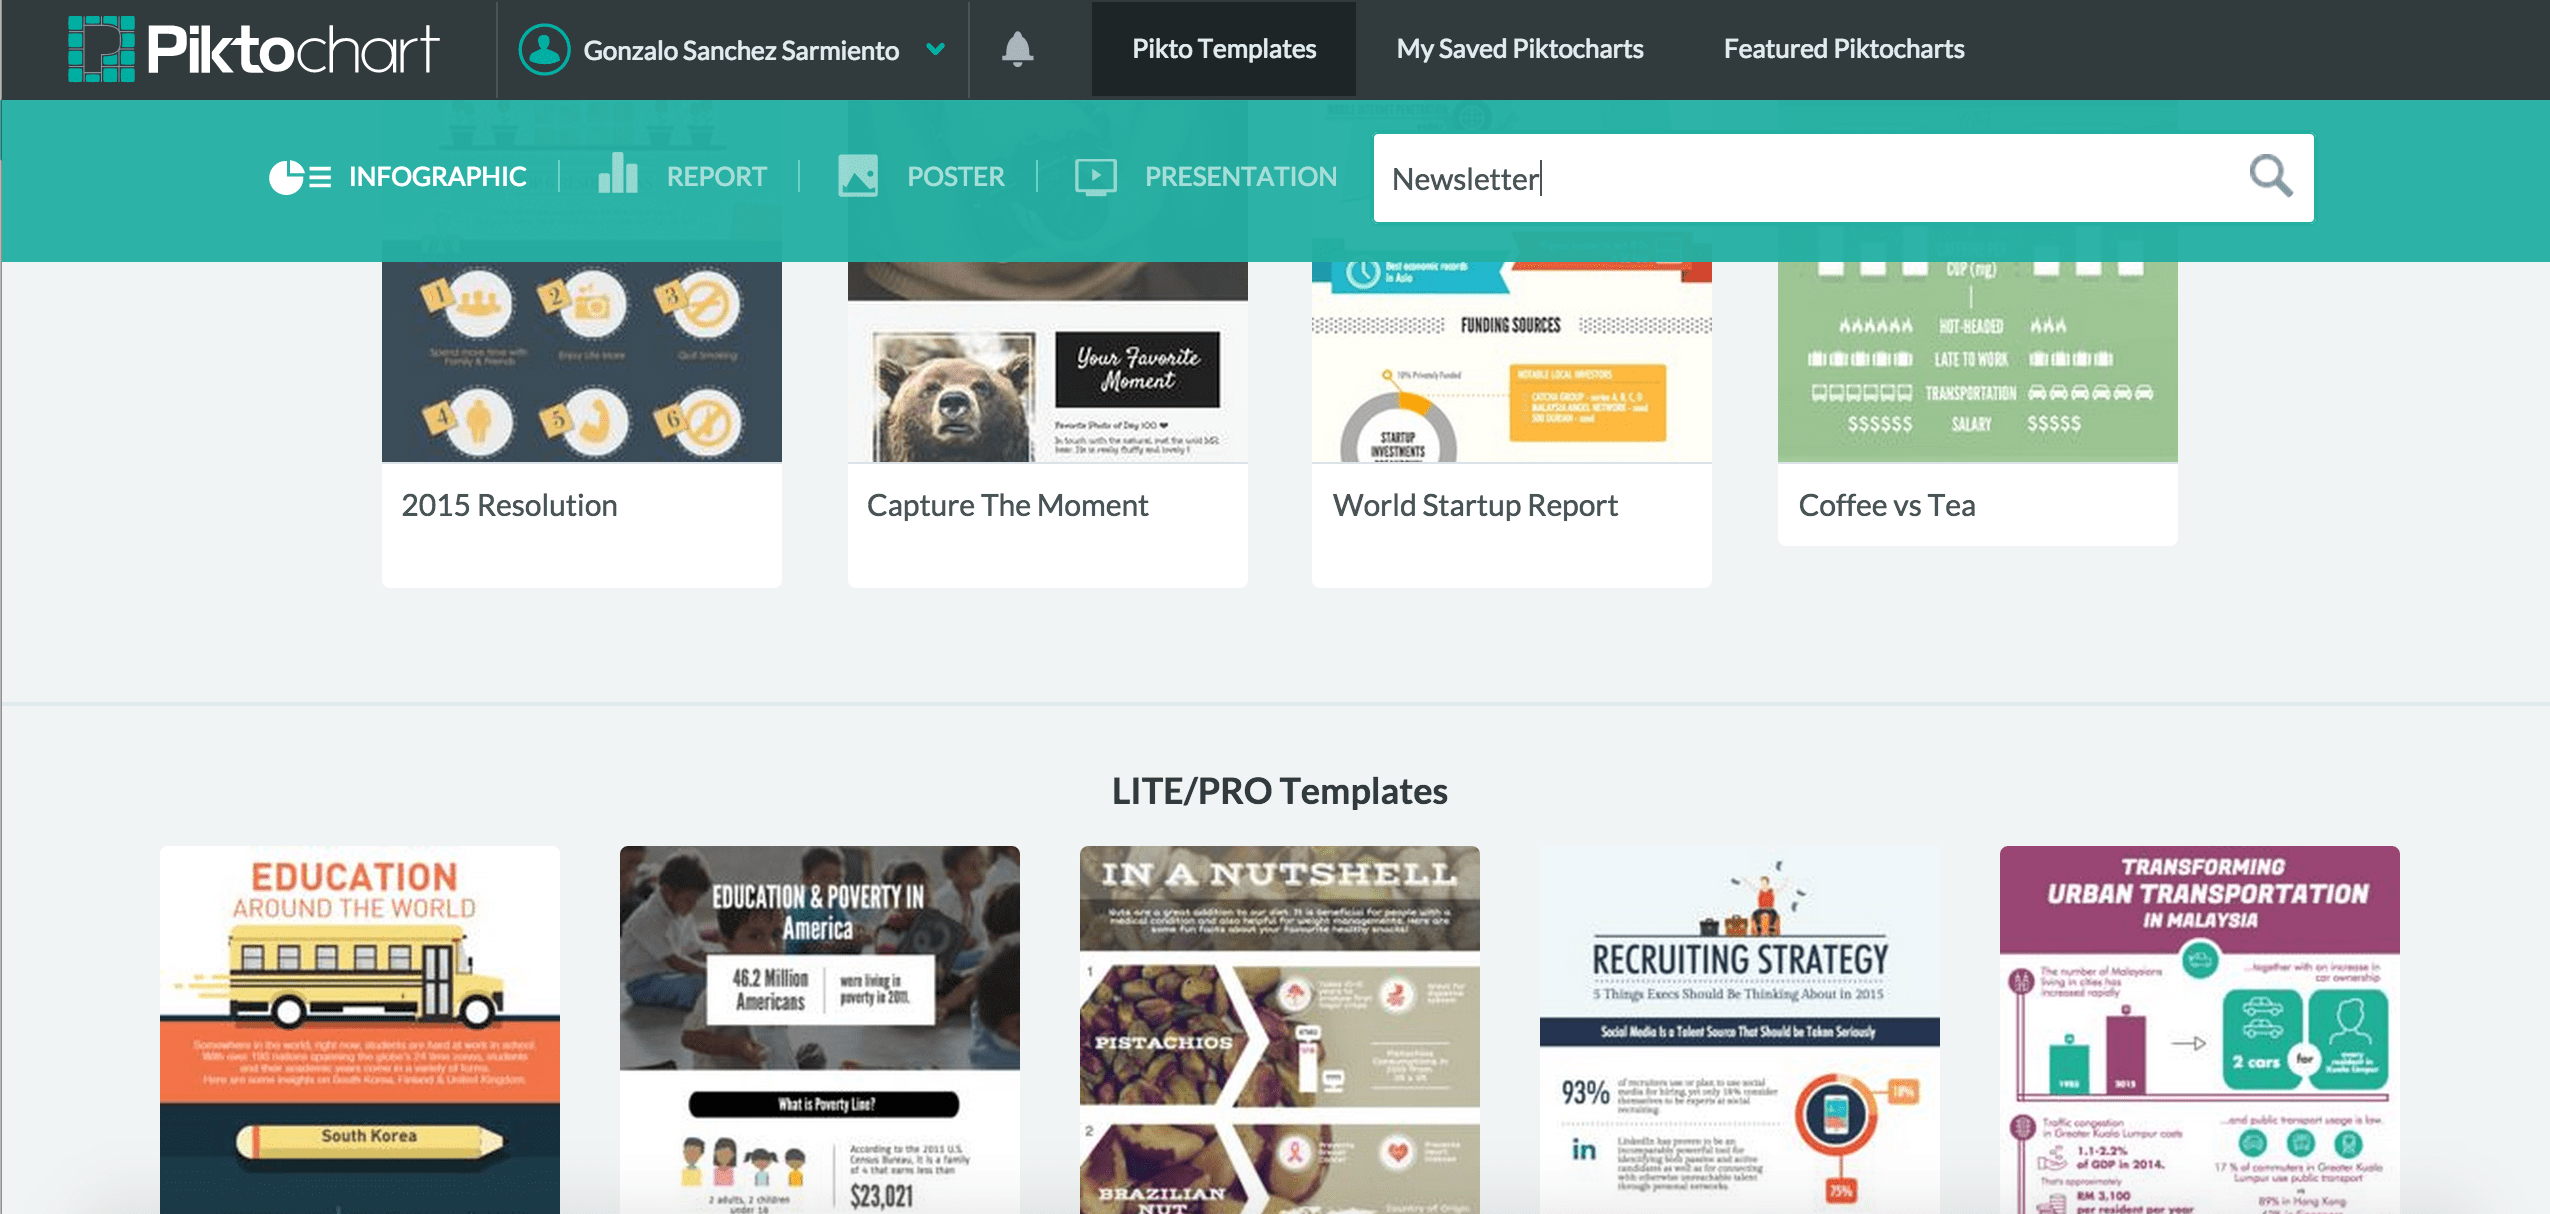
You can follow along by creating a free account on Piktochart and selecting an infographic template that sparks your interest.
Repurposing a Piktochart Template Into an Engaging Newsletter
Originally, our templates were designed with infographics in mind. However, the flexibility of the Piktochart editor allows you to create almost anything you can imagine. When transforming a template into an email newsletter, there are 4 specific steps we need to follow.
Think about your goals
The first step before you even begin is to think about the purpose of your email. Do you want to offer a discount? Promote a piece of content? Or just send a weekly newsletter? This is extremely important, as your goal will define which template you should choose.
For this post, we are going to create a newsletter promoting our October Series on repurposing infographics. We picked a template that makes it easy to illustrate the 3 different types of posts we’ve covered in this series.
Pick the right template
Not every template is suitable as an email. Newsletters need to portray information in a clear, concise, and valuable manner, so try to avoid comparisons, timelines, or data-centered designs. Instead, pick any template that’s suitable, like a beginner’s layout, or to repurpose content.
For this post, we picked the Happiness template. Another great idea is to search for ‘Newsletter’ when looking for a template. You can edit this template by simply creating an account on Piktochart for free.
Modify the template
The third step is using our editor to actually modify the template. The ideal composition is one block for the header, one for the body, and one for the footer.
We will start by modifying the header block and the title.
What we are going to do next is replace the background color.
And that’s it, the header is done! Now, on to the body…
The first step is removing all the unnecessary blocks. Remember, newsletters should be shorter than infographics. They live in everyone’s email, and who wants to read a gigantic message? For that, simply select the block you want to delete, and click on the cross on the popup menu on the left.
Now that that’s out of the way, it’s time to start adding our content! First, let’s take care of the text frame and add today’s date.
Now, let’s move on to the three sections below where I’ll show you the 3 different types of posts we’ll be seeing in the October Series:
- Engaging Newsletters (this one!)
- Beautiful Microcontent
- Adjusting Templates
Simply replace the titles and descriptions with your own content.
Finally, let’s customize the icons to suit our own needs. In this case, I picked 3 icons that symbolize the 3 kinds of posts the October Series will have.
Now, to the final step… the footer.
We don’t want anything complex. Simply a thank you message, and a call to action for readers. To create it, we will extend the block we have by selecting the bottom line and dragging it down. We will do the same with the green shaped element. After that, we’ll need to modify, move and adjust the text to reflect our message.
Finally, to make things interesting, we will add an icon. For that, we’ll go to the left panel, click on Graphics > Icons and select for one that we like! Remember, you can add your own icons too using the upload feature. After doing that, we’ll need to re-adjust all elements by dragging their white square within the canvas.
There you go!
Save it and upload it to your email provider
You’ve just finished the toughest part – now it’s time for fun! After publishing your infographic, you’ll need to pull it from Piktochart and upload it to your email provider. To do that, click on the top right download button. A modal window will pop up with the download options. These are the ones I recommend.

That will download a .png image to your computer. The last step is grabbing that image, and uploading it to your email campaign! Alternatively, check out how Neil from Public Relations Institute of Australia uses Piktochart to create Newsletters.
The Results Side by Side

images via Pexels, Piktochart.
Interested in designing beautiful newsletters using Piktochart? We just released our Newsletter Report template.
While you’re at it, check out our email signature generator where you can use Piktochart’s professionally designed templates for your email signature.
You can edit it by signing up for free. You can also check out our presentation, report, poster and social media templates.
Create newsletters that never get lost in inbox.
Make presentations, posters, infographics and more.